HOW TO CREATE A HANDMADE GREETING CARD?
DIY Craft Ideas
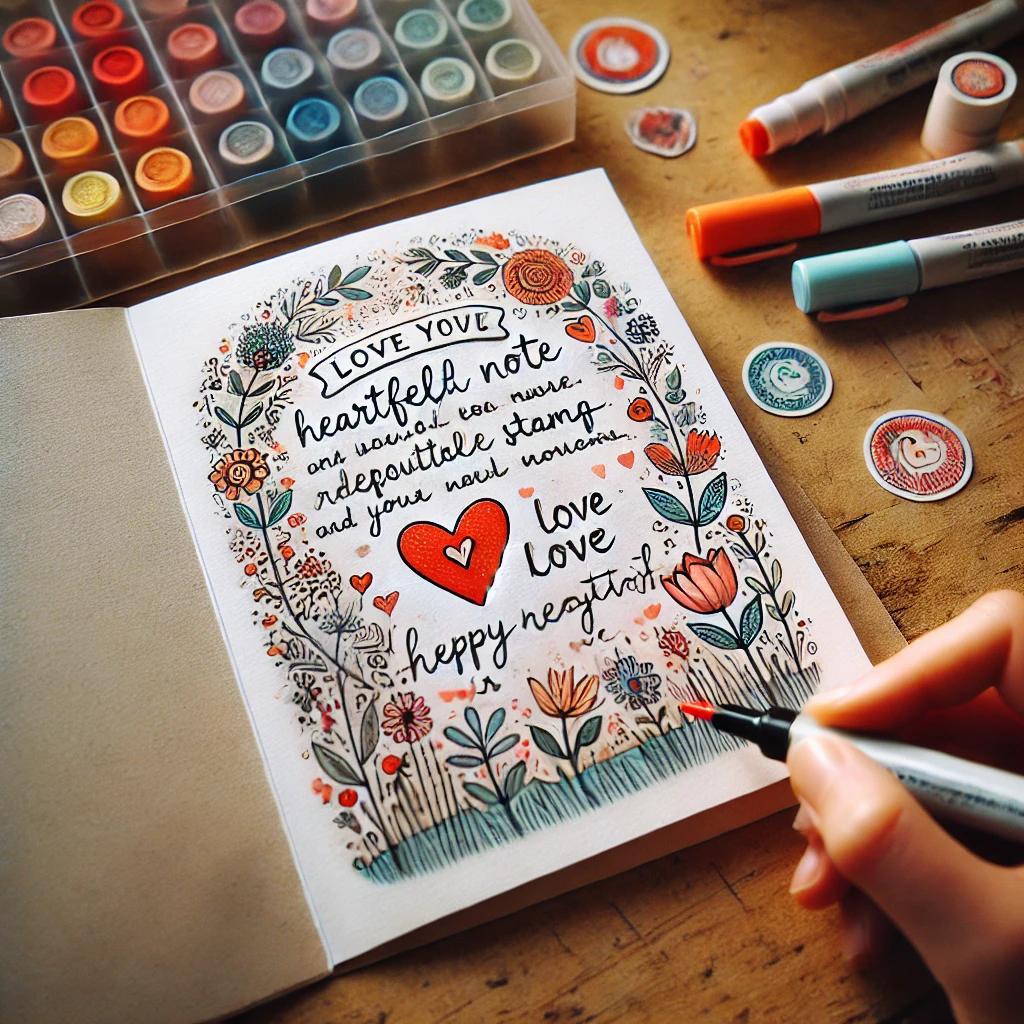
Send a heartfelt message with a handmade greeting card—our simple craft tutorials make it a joyful project! At Ezpratik, we say “Easy Pratik, DIY Fun,” and this guide offers an easy DIY craft project to design unique cards with paper and stamps. It’s perfect for any occasion or gifting. Let’s craft some love!
WHY CREATE A HANDMADE GREETING CARD?
Handmade greeting cards add a personal touch to your messages. Here’s why this DIY craft project is special:
- It’s affordable—uses basic supplies.
- It’s meaningful—shows effort and care.
- It’s versatile—fits birthdays, holidays, or thank-yous.
- It’s fun—lets you unleash your creativity.
Plus, it’s a thoughtful way to connect. Ready to craft? Let’s gather your supplies!
MATERIALS AND TOOLS YOU’LL NEED
You’ll need a few craft staples for this DIY craft project—most are likely at home.
Materials:

- Cardstock—Heavy paper in white or colors.
- Patterned Paper—Scrapbook paper or wrapping paper scraps.
- Stamps and Ink—For designs (optional).
- Stickers or Washi Tape—For decoration.
- Glue Stick—For sticking elements.
- Markers or Pens—For writing messages.
Tools:
- Scissors—For cutting paper shapes.
- Ruler—For straight edges.
- Pencil—To sketch outlines.
- Bone Folder (Optional)—For crisp folds.
Got these? Great! If not, they’re easy to find. Let’s start crafting your card!
STEP-BY-STEP GUIDE TO CREATING YOUR GREETING CARD
Follow these simple craft tutorials to design a beautiful card. It’s easy and fun.
Step 1: Prep Your Card Base
- Cut cardstock to 8.5 x 11 inches—fold in half to make a 4.25 x 5.5-inch card.
- Use a bone folder or ruler edge to crease the fold sharply.
- Trim edges if needed for a clean look.
A sturdy base sets the tone.
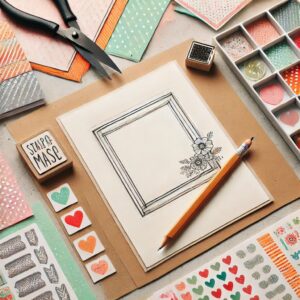
Step 2: Plan Your Design
- Sketch a layout lightly—think about where to place decorations.
- Pick a theme—birthday, thank-you, or holiday vibes.
- Gather your patterned paper, stamps, and stickers.
Planning keeps it organized.
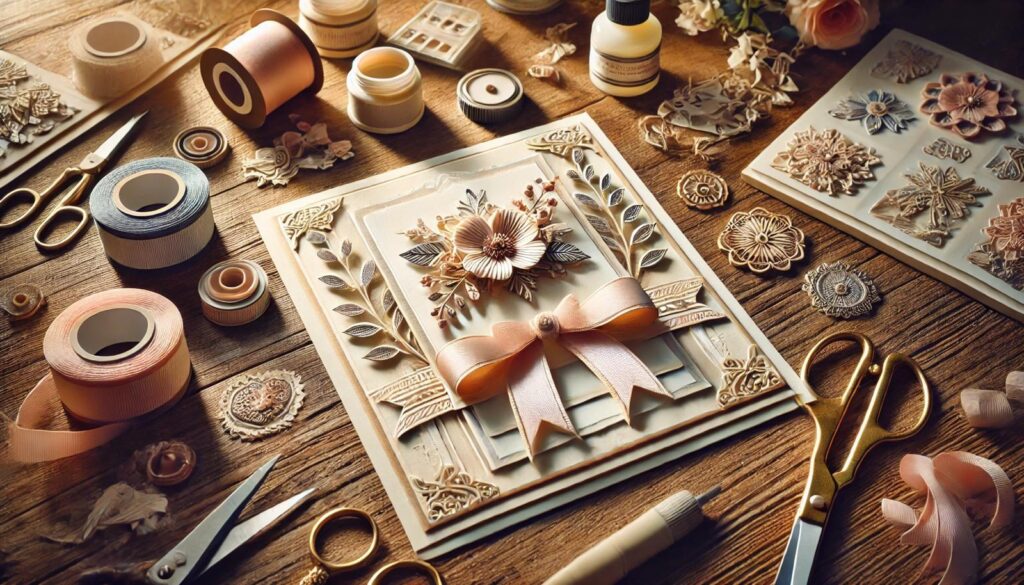
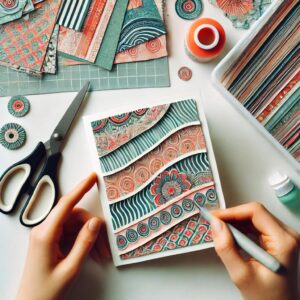
Step 3: Add Layers
- Cut patterned paper slightly smaller than the card front—glue it on as a background.
- Layer smaller pieces—like a rectangle or circle—in contrasting colors.
- Use a glue stick to secure each layer—press firmly.
Layers add depth and texture.
Step 4: Decorate with Details
- Stamp a design (like flowers or stars) onto the card—press ink evenly.
- Add washi tape along edges for a pop of pattern.
- Stick on stickers—think hearts, stars, or letters for a message.
Details make it pop.
Step 5: Write Your Message
- Open the card and write a heartfelt note with markers or pens.
- Add a small doodle or stamp inside for extra charm.
- Sign your name—make it personal.
Your words make it special.
Step 6: Finish and Share
- Let any glue or ink dry fully—about 10-15 minutes.
- Place in an envelope or hand it over directly.
- Watch their smile as they open your handmade card!
You’ve shared a piece of your heart.
TIPS FOR A PERFECT GREETING CARD

- Use Double-Sided Tape—For a cleaner look than glue.
- Test Stamps—Practice on scrap paper first.
- Keep It Simple—Don’t overcrowd with decorations.
- Match Colors—Pick a cohesive color scheme.
HOW MUCH WILL IT COST?
This DIY craft project is budget-friendly:
- Cardstock: $2-5
- Patterned Paper: $0-3 (use scraps)
- Stamps/Ink: $2-5 (optional)
- Stickers/Washi: $1-3
- Total: $5-16
Store-bought cards start at $3—you’re saving money!
OPTIONAL SUPPLIES TO MAKE IT EASIER
Want a smoother craft? Here are two picks from Amazon:
- Cardstock Pack—Variety of colors for creativity.
- Stamp Set—Perfect for quick designs.
They’re optional but helpful.
PERSONALIZATION AND STYLE IDEAS
Make your card unique:

- Pop-Up Element—Add a small 3D shape inside.
- Embossed Look—Use a stencil for raised designs.
- Glitter Accents—Sprinkle glitter on wet glue.
- Photo Insert—Glue a tiny photo for memories.
Your card, your style—get creative!
CREATIVE TWISTS TO TRY
Level up with these ideas:
- Shaker Card—Add a transparent pocket with sequins.
- Watercolor Base—Paint the cardstock for an artsy look.
- Envelope Art—Decorate the envelope to match.
Experiment and share the love!
CONCLUSION: YOUR GREETING CARD DELIVERS LOVE
Creating a handmade greeting card is a simple, heartfelt way to share your feelings. With Ezpratik’s simple craft tutorials, you’ve crafted a DIY project to cherish or gift. What’s your next handwritten masterpiece?
Would you like to see more handmade HOME DECOR tutorials?
Click to See More DIY Crafts Projects!
Click to See More DIY Home Decor Projects!
Click to See More DIY Grow Easy Projects!
Click to See More Sparkle DIY Projects!
Click to See More DIY Kids Craft Projects!
Similar Posts
- How to Create a Handmade Bookmark with Fabric Scraps?
 WHY CREATE A HANDMADE BOOKMARK? Handmade bookmarks add a personal touch to your reading. Here’s… Read more: How to Create a Handmade Bookmark with Fabric Scraps?
 - DIY Polymer Clay Earrings at Home
 WHY MAKE DIY POLYMER CLAY EARRINGS? Polymer clay earrings are a fun, fashionable way to… Read more: DIY Polymer Clay Earrings at Home
 - How to Create a Handmade Greeting Card?
 WHY CREATE A HANDMADE GREETING CARD? Handmade greeting cards add a personal touch to your… Read more: How to Create a Handmade Greeting Card?
 - How to Make a Felt Keychain with Handmade Charm?
 WHY MAKE A FELT KEYCHAIN? Felt keychains are adorable, practical, and easy to craft. Here’s… Read more: How to Make a Felt Keychain with Handmade Charm?
 - DIY Bath Bombs: a Simple Craft Tutorial
 WHY MAKE DIY BATH BOMBS? Bath bombs add luxury to your bath while being easy… Read more: DIY Bath Bombs: a Simple Craft Tutorial