HOW TO CREATE A HANDMADE BOOKMARK WITH FABRIC SCRAPS?
DIY Craft Tutorials
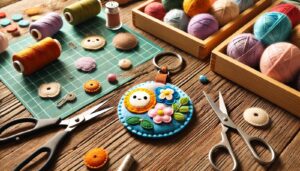
Mark your pages with a handmade bookmark—our simple craft tutorials make it a charming project! At Ezpratik, we say “Easy Pratik, DIY Fun,” and this guide offers an easy DIY craft project to create a unique bookmark with fabric scraps. It’s perfect for book lovers or gifting. Let’s craft a page-saver!
WHY CREATE A HANDMADE BOOKMARK?
Handmade bookmarks add a personal touch to your reading. Here’s why this DIY craft project is a gem:
- It’s budget-friendly—uses fabric scraps you already have.
- It’s customizable—pick patterns and colors you love.
- It’s quick—finish in under 30 minutes.
- It’s thoughtful—perfect for gifting to readers.
Plus, it’s a great way to upcycle fabric. Ready to craft? Let’s gather your supplies!
MATERIALS AND TOOLS YOU’LL NEED
You’ll need a few basics for this DIY craft project—most are likely at home.
Materials:
- Fabric Scraps—Cotton or felt, at least 2 x 6 inches.
- Ribbon—6 inches long, for a tail.
- Thread—Matching or contrasting color.
- Buttons or Beads (Optional)—For decoration.
- Fusible Interfacing (Optional)—For extra stiffness.
Tools:

- Scissors—For cutting fabric.
- Needle—For hand-stitching (or sewing machine).
- Pins—To hold fabric together.
- Pencil—To mark measurements.
Got these? Great! If not, they’re easy to find. Let’s start crafting your bookmark!
STEP-BY-STEP GUIDE TO CREATING YOUR BOOKMARK
Follow these simple craft tutorials to craft a charming bookmark. It’s quick and easy.
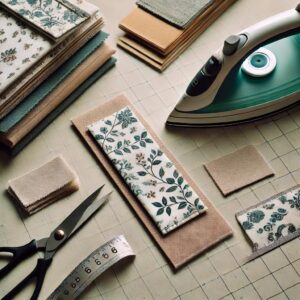
Step 1: Cut Your Fabric
- Pick your fabric scraps—cut two pieces to 2 x 6 inches each.
- If using interfacing, cut a piece to the same size—iron it onto one fabric piece.
- Trim edges for a clean look—use a ruler for straight lines.
Precision keeps it neat.
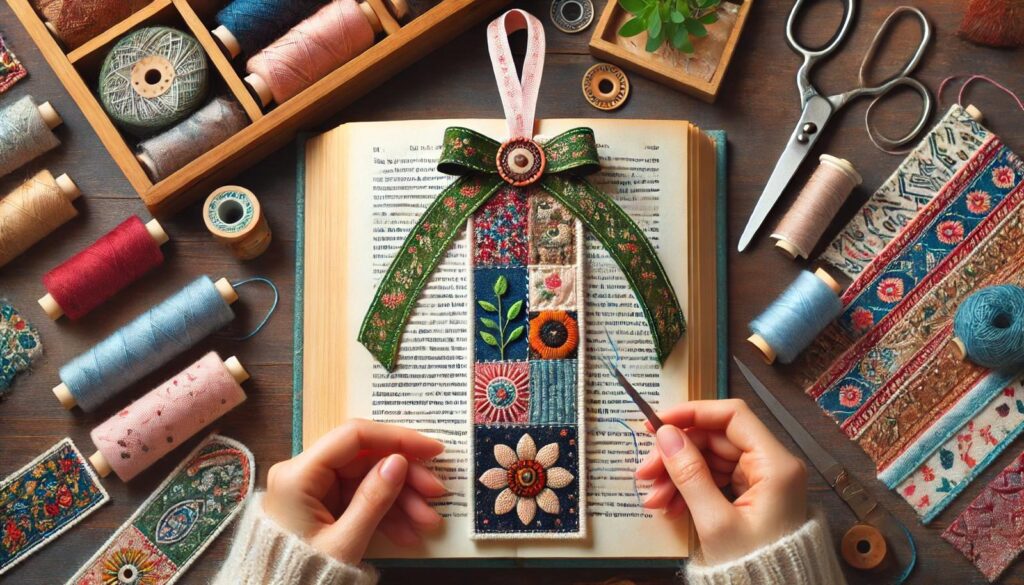
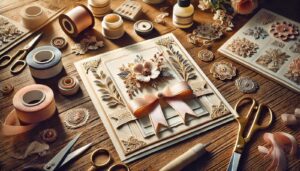
Step 2: Add Decorative Elements
- Cut small shapes (hearts, stars) from contrasting fabric—glue or stitch onto one piece.
- Sew on a button or bead for extra charm—place near the top.
- Keep it simple or go bold—your choice.
Details make it special.
Step 3: Attach the Ribbon
- Cut a 6-inch ribbon piece—fold in half to make a loop.
- Place the loop’s ends between the two fabric pieces at the top—pin in place.
- Ensure the loop sticks out—ends should be inside the fabric sandwich.
The ribbon adds a cute tail.
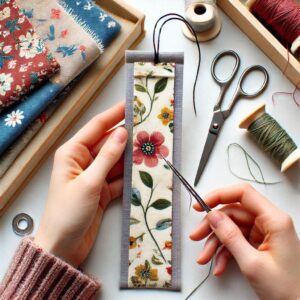
Step 4: Stitch the Pieces Together
- Pin the two fabric pieces together—right sides facing (if applicable).
- Stitch around the edges with a needle and thread—use a running stitch, ¼ inch from the edge.
- Leave a 1-inch gap at the bottom for turning.
Secure stitching keeps it sturdy.
Step 5: Turn and Close
- Turn the bookmark right-side out through the gap—use a pencil to push out corners.
- Iron flat if needed—be careful with heat on felt.
- Stitch the gap closed with a hidden stitch—trim threads.
Your bookmark is almost ready!
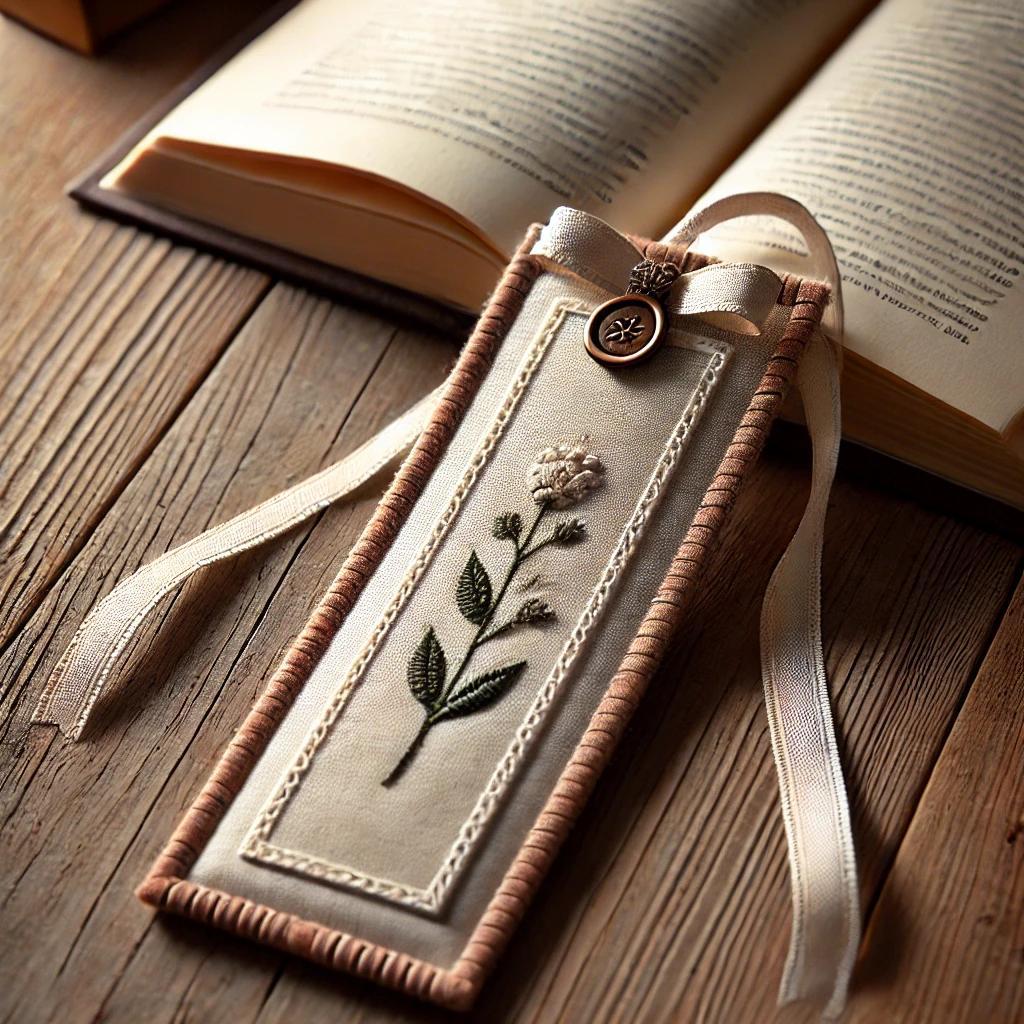
Step 6: Finish and Use
- Add final touches—stitch a decorative line or add more beads.
- Slip your bookmark into your current book—mark your page!
- Or gift it to a book lover with a sweet note.
You’ve made a charming page-saver!
TIPS FOR A PERFECT HANDMADE BOOKMARK
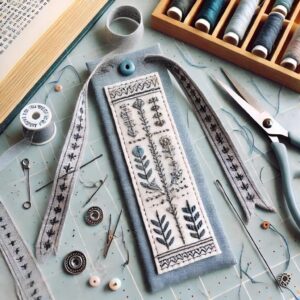
- Use Stiff Fabric—Felt or interfaced cotton holds shape better.
- Double Stitch Edges—Prevents fraying over time.
- Keep It Thin—Too thick bookmarks can damage pages.
- Test Ribbon—Ensure it’s not too long for the book.
HOW MUCH WILL IT COST?
This DIY craft project is practically free:
- Fabric Scraps: $0 (use leftovers)
- Ribbon: $0-1 (use scraps)
- Thread: $0-1
- Buttons/Beads: $0-2 (optional)
- Total: $0-4
Store-bought bookmarks start at $2—you’re saving money!
OPTIONAL SUPPLIES TO MAKE IT EASIER
Want a smoother craft? Here are two picks from Amazon:
- Felt Scraps Pack—Variety for creativity.
- Ribbon Assortment—Perfect for tails.
They’re optional but helpful.
PERSONALIZATION AND STYLE IDEAS
Make your bookmark unique:

- Embroidered Initials—Stitch a letter for a personal touch.
- Tassel Tail—Add a tassel to the ribbon.
- Fabric Paint—Draw designs with fabric paint.
- Photo Patch—Glue a tiny photo or drawing.
Your bookmark, your style—get crafty!
CREATIVE TWISTS TO TRY
Level up with these ideas:
- Bookmark Set—Make a matching set for gifting.
- Elastic Loop—Add an elastic band to hold the page.
- 3D Elements—Sew on a small felt flower.
Experiment and mark your pages!
CONCLUSION: YOUR BOOKMARK ADDS CHARM
Creating a handmade bookmark with fabric scraps is a simple, thoughtful way to craft something useful. With Ezpratik’s simple craft tutorials, you’ve made a DIY craft project to use or gift. What’s your next crafty page-saver?
Would you like to see more handmade HOME DECOR tutorials?
Click to See More DIY Crafts Projects!
Click to See More DIY Home Decor Projects!
Click to See More DIY Grow Easy Projects!
Click to See More Sparkle DIY Projects!
Click to See More DIY Kids Craft Projects!
Similar Posts
- How to Create a Handmade Bookmark with Fabric Scraps?
 WHY CREATE A HANDMADE BOOKMARK? Handmade bookmarks add a personal touch to your reading. Here’s… Read more: How to Create a Handmade Bookmark with Fabric Scraps?
 - DIY Polymer Clay Earrings at Home
 WHY MAKE DIY POLYMER CLAY EARRINGS? Polymer clay earrings are a fun, fashionable way to… Read more: DIY Polymer Clay Earrings at Home
 - How to Create a Handmade Greeting Card?
 WHY CREATE A HANDMADE GREETING CARD? Handmade greeting cards add a personal touch to your… Read more: How to Create a Handmade Greeting Card?
 - How to Make a Felt Keychain with Handmade Charm?
 WHY MAKE A FELT KEYCHAIN? Felt keychains are adorable, practical, and easy to craft. Here’s… Read more: How to Make a Felt Keychain with Handmade Charm?
 - DIY Bath Bombs: a Simple Craft Tutorial
 WHY MAKE DIY BATH BOMBS? Bath bombs add luxury to your bath while being easy… Read more: DIY Bath Bombs: a Simple Craft Tutorial