DIY POLYMER CLAY EARRINGS AT HOME
DIY Craft Ideas
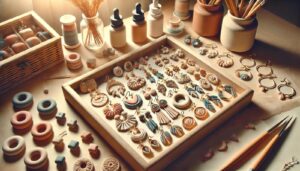
Elevate your style with DIY polymer clay earrings—our simple craft tutorials make it a trendy project! At Ezpratik, we say “Easy Pratik, DIY Fun,” and this guide offers an easy DIY craft project to create stylish earrings with clay. They’re perfect for wearing or gifting. Let’s shape some chic accessories!
WHY MAKE DIY POLYMER CLAY EARRINGS?
Polymer clay earrings are a fun, fashionable way to accessorize. Here’s why this DIY craft project shines:
- It’s affordable—clay is cheap and versatile.
- It’s customizable—design shapes and colors you love.
- It’s quick—finish in a couple of hours.
- It’s unique—perfect for personal style or gifting.
Plus, it’s a great intro to clay crafting. Ready to mold? Let’s gather your supplies!

MATERIALS AND TOOLS YOU’LL NEED
You’ll need a few basics for this DIY craft project—most are easy to find at a craft store.
Materials:

- Polymer Clay—Multiple colors (grab Sculpey clay if buying).
- Earring Hooks—Metal hooks for wearing.
- Jump Rings—Small metal rings to connect pieces.
- Acrylic Paint (Optional)—For extra color.
- Varnish (Optional)—For a glossy finish.
Tools:

- Rolling Pin—To flatten clay (a bottle works too).
- Craft Knife—For cutting shapes.
- Toothpick—To make holes.
- Baking Sheet—To harden clay.
- Oven—For curing (check clay instructions).
Got these? Awesome! If not, they’re affordable. Let’s start shaping your earrings!
STEP-BY-STEP GUIDE TO MAKING YOUR POLYMER CLAY EARRINGS
Follow these simple craft tutorials to create stunning earrings. It’s easy, just take your time.
Step 1: Prep Your Clay
- Knead clay in your hands until soft—about 1-2 minutes per color.
- Pick 2-3 colors to work with—mix or keep separate.
- Work on a clean surface—wax paper prevents sticking.
Soft clay is easier to shape.
Step 2: Shape Your Earrings
- Roll clay into a thin sheet (about ⅛ inch thick) with a rolling pin.
- Cut shapes—use a knife to make circles, triangles, or arches (about 1-2 inches).
- Make two identical pieces for each earring—or mix for an eclectic look.
Shapes can be as bold or simple as you like.
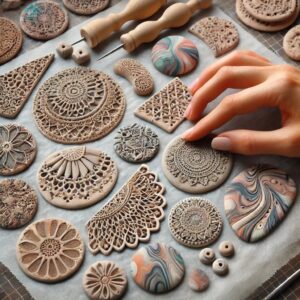
Step 3: Add Texture or Designs
- Press a textured item (like lace or a stamp) into the clay for patterns.
- Mix colors by swirling two clays together for a marbled effect.
- Add small clay dots or lines for detail—get creative.
Texture makes your earrings pop.
Step 4: Make Holes
- Use a toothpick to poke a small hole at the top of each piece—big enough for a jump ring.
- Wiggle gently to ensure a clean hole—don’t distort the shape.
- Check both pieces match—holes should align for symmetry.
Holes let you attach hooks later.
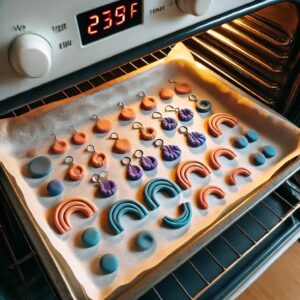
Step 5: Bake the Clay
- Place pieces on a baking sheet—line with parchment if sticky.
- Bake per clay instructions (usually 275°F for 15-20 minutes).
- Let cool completely—hot clay is fragile.
Baking hardens your designs.
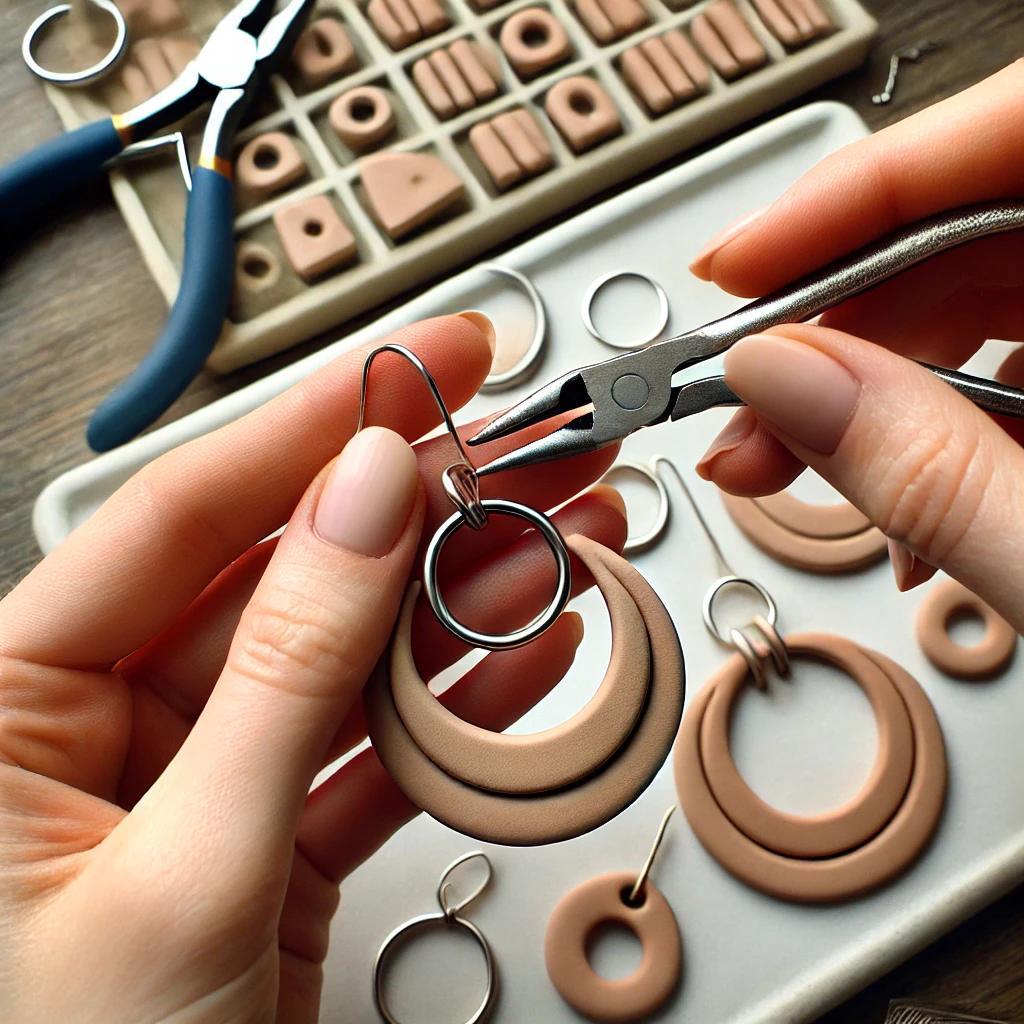
Step 6: Assemble and Wear
- Paint or varnish if desired—let dry fully (1-2 hours for paint, overnight for varnish).
- Attach a jump ring through each hole—connect to an earring hook.
- Try on your new earrings—admire your handmade style!
You’ve crafted chic accessories!
TIPS FOR PERFECT POLYMER CLAY EARRINGS
- Don’t Overbake—Check clay instructions to avoid burning.
- Smooth Edges—Sand lightly with fine sandpaper after baking.
- Test Thickness—Too thin can crack, too thick feels heavy.
- Seal Properly—Varnish prevents chipping.
HOW MUCH WILL IT COST?
This DIY craft project is budget-friendly:
- Polymer Clay: $5-10
- Earring Hooks/Jump Rings: $2-5
- Paint/Varnish: $0-5 (optional)
- Total: $7-20
Store-bought clay earrings start at $10—you’re saving money!
OPTIONAL SUPPLIES TO MAKE IT EASIER
Want a smoother craft? Here are two picks from Amazon:
- Sculpey Polymer Clay—Easy to shape and bake.
- Earring Hooks Set—Hooks and jump rings included.
They’re optional but helpful.
PERSONALIZATION AND STYLE IDEAS
Make your earrings unique:

- Marbled Effect—Swirl two colors for a blended look.
- Geometric Shapes—Cut hexagons or triangles for modern vibes.
- Gold Flakes—Add gold leaf for a luxe touch.
- Dangle Charms—Attach small beads to jump rings.
Your earrings, your style—get crafty!
CREATIVE TWISTS TO TRY
Level up with these ideas:
- Statement Studs—Make larger shapes for bold looks.
- Two-Tone—Paint half in a contrasting color.
- Textured Layers—Stack thin clay pieces for depth.
Experiment and wear with pride!
CONCLUSION: YOUR EARRINGS SPARKLE
Creating DIY polymer clay earrings at home is a simple, stylish way to craft wearable art. With Ezpratik’s simple craft tutorials, you’ve made a handmade craft to rock or gift. What’s your next accessory project?
Would you like to see more handmade HOME DECOR tutorials?
Click to See More DIY Crafts Projects!
Click to See More DIY Home Decor Projects!
Click to See More DIY Grow Easy Projects!
Click to See More Sparkle DIY Projects!
Click to See More DIY Kids Craft Projects!
Similar Posts
- How to Create a Handmade Bookmark with Fabric Scraps?
 WHY CREATE A HANDMADE BOOKMARK? Handmade bookmarks add a personal touch to your reading. Here’s… Read more: How to Create a Handmade Bookmark with Fabric Scraps?
 - DIY Polymer Clay Earrings at Home
 WHY MAKE DIY POLYMER CLAY EARRINGS? Polymer clay earrings are a fun, fashionable way to… Read more: DIY Polymer Clay Earrings at Home
 - How to Create a Handmade Greeting Card?
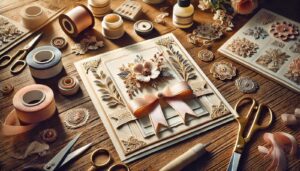 WHY CREATE A HANDMADE GREETING CARD? Handmade greeting cards add a personal touch to your… Read more: How to Create a Handmade Greeting Card?
 - How to Make a Felt Keychain with Handmade Charm?
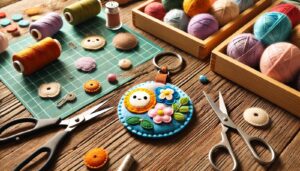 WHY MAKE A FELT KEYCHAIN? Felt keychains are adorable, practical, and easy to craft. Here’s… Read more: How to Make a Felt Keychain with Handmade Charm?
 - DIY Bath Bombs: a Simple Craft Tutorial
 WHY MAKE DIY BATH BOMBS? Bath bombs add luxury to your bath while being easy… Read more: DIY Bath Bombs: a Simple Craft Tutorial