DIY BATH BOMBS: A SIMPLE CRAFT TUTORIAL
DIY Craft Ideas
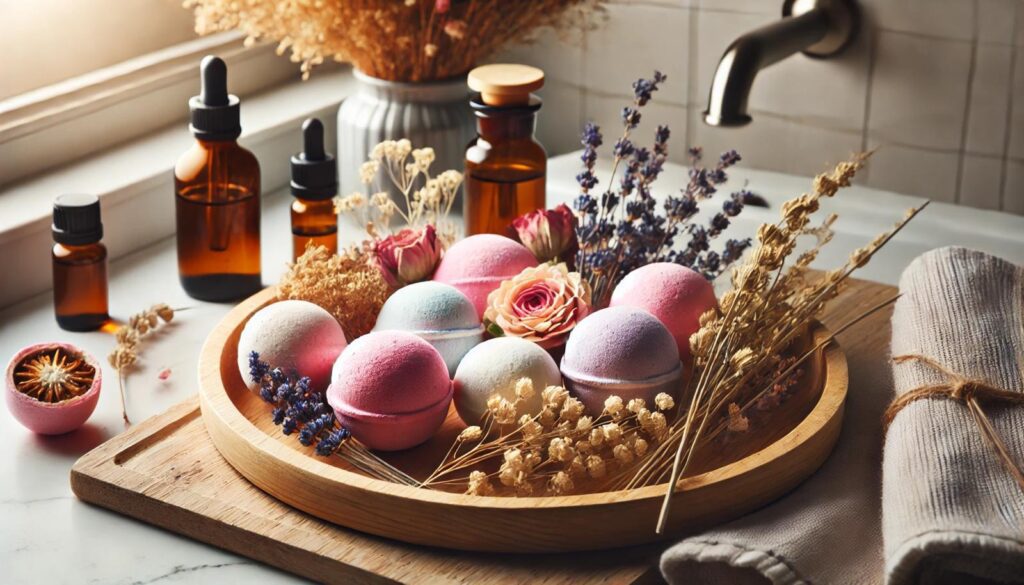
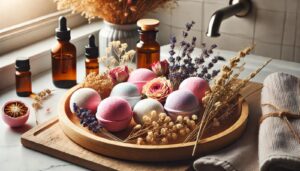
Indulge in a spa vibe with DIY bath bombs—our simple craft tutorials make it a refreshing project! At Ezpratik, we say “Easy Pratik, DIY Fun,” and this guide offers an easy DIY craft project to create fizzing bath bombs with basic ingredients. They’re perfect for self-care or gifting. Let’s make some bubbly magic!
WHY MAKE DIY BATH BOMBS?
Bath bombs add luxury to your bath while being easy to craft. Here’s why this DIY craft project is a winner:
- It’s budget-friendly—uses affordable ingredients.
- It’s customizable—add scents and colors you love.
- It’s relaxing—both to make and use in a bath.
- It’s thoughtful—perfect for gifting to pamper someone.
Plus, it’s a fun way to unwind. Ready to fizz? Let’s gather your supplies!
MATERIALS AND TOOLS YOU’LL NEED
You’ll need a few pantry staples for this DIY craft project—most are easy to source.
Materials:
- Baking Soda—1 cup (absorbs odors and fizzes).
- Citric Acid—½ cup (creates the fizzing reaction).
- Cornstarch—½ cup (smooths the mixture).
- Epsom Salt—½ cup (soothes muscles).
- Coconut Oil—2 tablespoons (binds and moisturizes).
- Essential Oils—10-15 drops (lavender, peppermint, etc.).
- Food Coloring—3-5 drops (optional, for color).
- Water or Witch Hazel—1-2 teaspoons (to bind).
- Molds—Silicone molds or plastic ornaments.
Tools:
- Mixing Bowl—For combining dry ingredients.
- Whisk—To mix evenly.
- Spray Bottle—For adding liquid slowly.
- Gloves (Optional)—If you’re sensitive to citric acid.
Got everything? Awesome! If not, a quick shop will do. Let’s mix up some bath bombs!
STEP-BY-STEP GUIDE TO MAKING YOUR BATH BOMBS
Follow these simple craft tutorials to create fizzy bath bombs. It’s easy, just go slow.
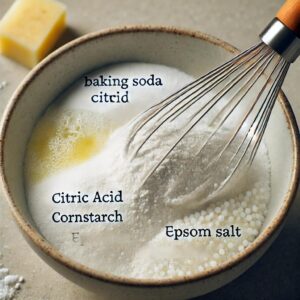
Step 1: Mix Dry Ingredients
- In a bowl, whisk together baking soda, citric acid, cornstarch, and Epsom salt.
- Break up any clumps—mixture should be smooth.
- Set aside for now.
A good base ensures even fizzing.
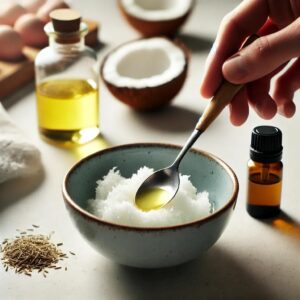
Step 2: Mix Wet Ingredients
- In a small bowl, combine coconut oil, essential oils, and food coloring (if using).
- Stir well—oil should be melted if solid (microwave for 10 seconds).
- Add water or witch hazel—start with 1 teaspoon.
This keeps the mixture from fizzing too soon.
Step 3: Combine Wet and Dry
- Slowly add wet mix to dry, whisking constantly—don’t add all at once.
- Mix until it looks like wet sand and holds together when squeezed.
- If too dry, spritz with more water/witch hazel—go slow to avoid fizzing.
The texture is key for molding.
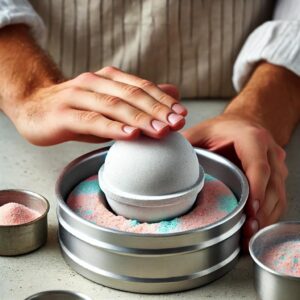
Step 4: Mold the Bath Bombs
- Pack the mixture tightly into your molds—press firmly to avoid cracks.
- If using two-part molds, overfill each half, then press together.
- Let sit for 10-15 minutes—don’t remove too soon.
Firm packing prevents crumbling.
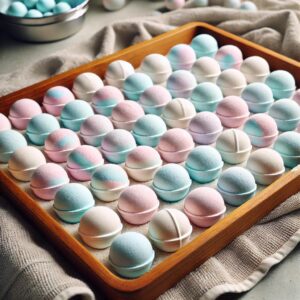
Step 5: Remove and Dry
- Gently tap molds to release bath bombs—place on a towel or tray.
- Let them dry for 24-48 hours in a dry, cool spot—they’ll harden.
- Don’t touch until fully set—they’re fragile when wet.
Patience gives you sturdy bombs.
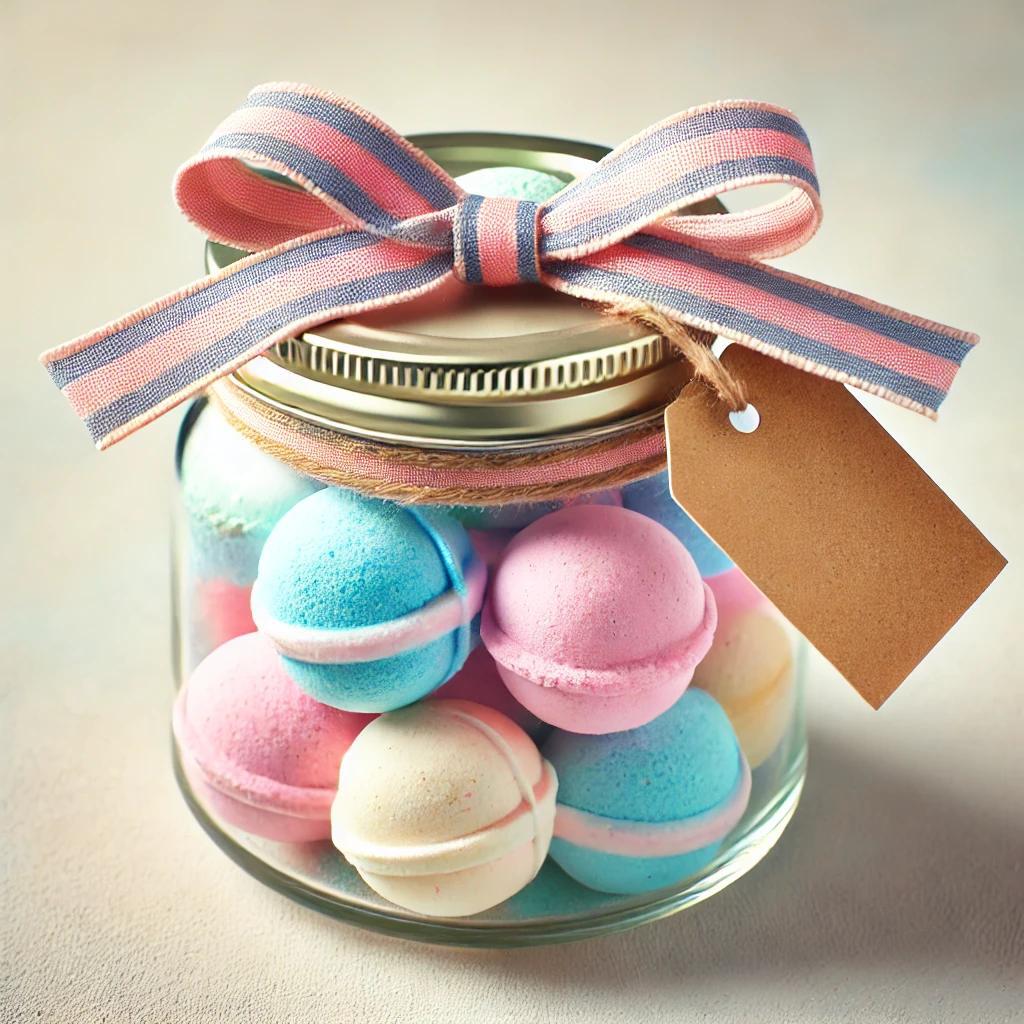
Step 6: Use or Gift
- Drop a bath bomb into a warm bath—watch it fizz and release scent!
- Or package in a jar with a ribbon for a thoughtful gift.
- Store leftovers in an airtight container—keep dry.
Enjoy your spa moment!
TIPS FOR PERFECT BATH BOMBS
- Go Slow with Liquid—Too much water activates fizzing early.
- Test Fizz—Drop a tiny bit in water to check reaction.
- Use Silicone Molds—They’re easier to remove than plastic.
- Avoid Humidity—Moisture can make bombs soft.
HOW MUCH WILL IT COST?
This DIY craft project is affordable:
- Baking Soda, Citric Acid, Etc.: $5-10 (pantry staples)
- Essential Oils: $3-5
- Molds: $2-5
- Total: $10-20
Store-bought bath bombs start at $5 each—you’re saving big!
OPTIONAL SUPPLIES TO MAKE IT EASIER
Want smoother mixing? Here are two picks from Amazon:
- Essential Oil Set—Variety of scents for luxury.
- Silicone Bath Bomb Molds—Easy release, no cracks.
They’re optional but helpful.
PERSONALIZATION AND STYLE IDEAS
Make your bath bombs unique:
- Glitter Glow—Add biodegradable glitter for sparkle.
- Flower Petals—Mix in dried lavender or rose petals.
- Color Swirls—Drip two colors into molds for a marbled look.
- Mini Bombs—Use smaller molds for multiple fizzers.
Your bombs, your vibe—get creative!
CREATIVE TWISTS TO TRY
Level up with these ideas:
- Bath Bomb Eggs—Hide a small toy inside for kids.
- Glow-in-the-Dark—Use glow powder for a magical fizz.
- Scent Layering—Mix two scents for a complex aroma.
Experiment and soak in the fun!
CONCLUSION: YOUR BATH BOMBS FIZZ WITH FUN
Making DIY bath bombs at home is a simple, luxurious way to craft something special. With Ezpratik’s simple craft tutorials, you’ve created handmade crafts to pamper yourself or gift. What’s your next fizzy project?
Would you like to see more handmade HOME DECOR tutorials?
Click to See More DIY Crafts Projects!
Click to See More DIY Home Decor Projects!
Click to See More DIY Grow Easy Projects!
Click to See More Sparkle DIY Projects!
Click to See More DIY Kids Craft Projects!
Similar Posts
- How to Create a Handmade Bookmark with Fabric Scraps?
 WHY CREATE A HANDMADE BOOKMARK? Handmade bookmarks add a personal touch to your reading. Here’s… Read more: How to Create a Handmade Bookmark with Fabric Scraps?
 - DIY Polymer Clay Earrings at Home
 WHY MAKE DIY POLYMER CLAY EARRINGS? Polymer clay earrings are a fun, fashionable way to… Read more: DIY Polymer Clay Earrings at Home
 - How to Create a Handmade Greeting Card?
 WHY CREATE A HANDMADE GREETING CARD? Handmade greeting cards add a personal touch to your… Read more: How to Create a Handmade Greeting Card?
 - How to Make a Felt Keychain with Handmade Charm?
 WHY MAKE A FELT KEYCHAIN? Felt keychains are adorable, practical, and easy to craft. Here’s… Read more: How to Make a Felt Keychain with Handmade Charm?
 - DIY Bath Bombs: a Simple Craft Tutorial
 WHY MAKE DIY BATH BOMBS? Bath bombs add luxury to your bath while being easy… Read more: DIY Bath Bombs: a Simple Craft Tutorial