HOW TO MAKE A COFFEE TABLE FROM A PALLET?
DIY Pallet Ideas
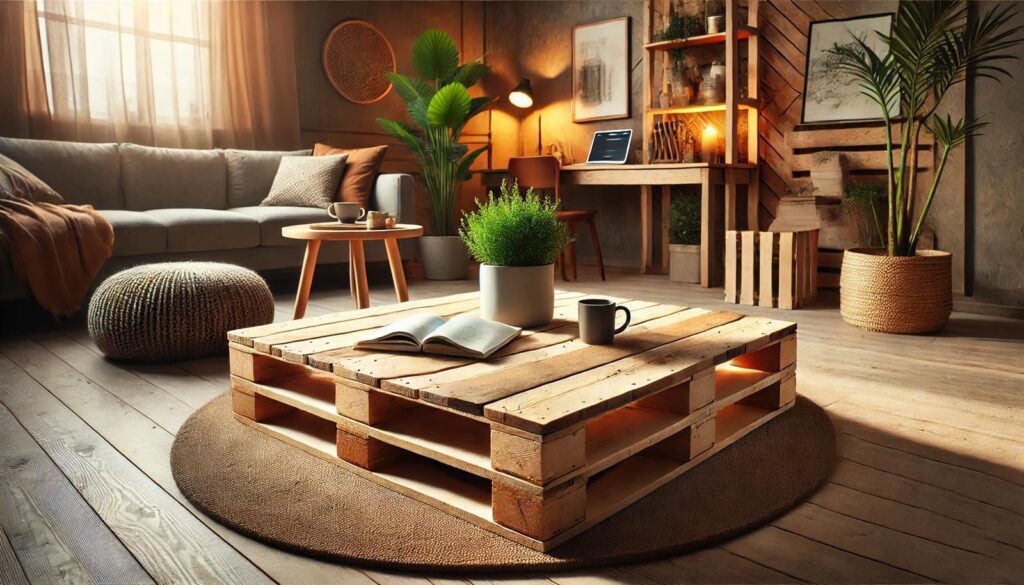
Want a chic coffee table for your home? Craft one from an old pallet, it’s modern and eco-friendly. At Ezpratik, we say “Easy Pratik, DIY Fun,” and this upcycling project sparks creativity. It’s budget-friendly too. Ready to build? Let’s go! In this guide, we’ll take you through every step—from finding a pallet to finishing your table—plus tips to make it smooth and fun. We’ll suggest a few handy tools (some with Amazon links), but the focus is on keeping it simple. Let’s turn that old pallet into a stylish centerpiece!
WHY MAKE A COFFEE TABLE FROM A PALLET?
A pallet coffee table blends rustic charm with modern flair. Here’s why it’s a great DIY choice:
- It’s eco-friendly—repurpose wood instead of buying new.
- It’s affordable—pallets are often free or cheap.
- It’s unique—customize it to fit your vibe.
- It’s satisfying—build something cool from scratch. Plus, it’s a weekend project that transforms your space. Ready for the essentials? Let’s dive in!
MATERIALS AND TOOLS YOU’LL NEED
You won’t need much—most of this might already be around. Here’s what to gather:
Materials:

- Pallet—One standard wooden pallet (check warehouses or local stores).
- Wood Screws—1-2 inch screws for assembly.
- Sandpaper—120-grit and 220-grit for smoothing.
- Wood Stain or Paint—Pick your finish (stain like Minwax works great).
- Legs—Hairpin legs, caster wheels, or wood blocks (your call).
- Wood Glue (Optional)—For extra stability.
Tools:

- Hammer or Crowbar—To disassemble the pallet.
- Saw—Hand saw or power saw to cut boards.
- Drill—For screwing pieces together.
- Measuring Tape—To size it right.
- Paintbrush—For applying stain or paint.
- Safety Gear—Gloves and goggles for protection.
Got these? Awesome! If not, they’re easy to find. Now, let’s get building!
STEP-BY-STEP GUIDE TO MAKING YOUR COFFEE TABLE
Here’s how to craft your coffee table, step by step. Follow along and enjoy the process.
Step 1: Find and Prep Your Pallet
- Source a pallet—look for one that’s sturdy, not rotted.
- Check for nails or staples—remove any hazards.
- Wipe it down with a damp cloth to clean off dirt. A solid base sets you up for success.
Step 2: Disassemble the Pallet
- Use a hammer or crowbar to pry apart the boards.
- Work carefully—keep boards intact for reuse.
- Remove all nails with the claw end or pliers.
- Stack the boards—you’ll use most of them. This step takes patience but saves wood.
Step 3: Cut and Arrange the Boards
- Measure your space—aim for 36×24 inches or your preferred size.
- Mark and cut boards with a saw to fit the top.
- Lay them side by side for the tabletop—gaps are okay for rustic charm.
- Trim extra boards for a frame or underside support. Play with the layout till it looks right.
Step 4: Sand the Wood

- Start with 120-grit sandpaper to smooth rough spots.
- Switch to 220-grit for a polished finish—sand all surfaces.
- Wipe off dust with a cloth. Smooth wood looks and feels better.
Step 5: Assemble the Tabletop
- Lay the top boards face down.
- Attach support boards across the bottom with screws or glue.
- Drill screws every 6-8 inches for strength.
- Flip it over—your tabletop is taking shape! Check it’s sturdy before moving on.
Step 6: Add Legs and Finish
- Attach legs—screw hairpin legs or wheels to the underside corners.
- Use a level to ensure it’s even.
- Apply wood stain or paint with a brush—let it dry 4-6 hours.
- Optional: Seal with polyurethane for durability. You’ve got a coffee table—nice work!
TIPS FOR A PERFECT COFFEE TABLE

- Test Stability—Wobble it to check leg strength.
- Mix Finishes—Stain some boards, paint others for contrast.
- Add Storage—Screw a shelf underneath with extra boards.
- Safety First—Sand splinters and wear gear when cutting.
HOW MUCH WILL IT COST?
This project is light on the wallet:
- Pallet: Free-$10 (depending on source)
- Screws: $3-5
- Sandpaper: $2-4
- Stain/Paint: $5-10
- Legs: $10-20 (hairpin or wheels)
- Total: $20-49 Store-bought tables start at $50+—you’re saving big!
OPTIONAL TOOLS TO MAKE IT EASIER
Want a smoother build? Try these from Amazon:

- BLACK+DECKER Cordless Drill—Speeds up assembly.
- Minwax Wood Stain—Gives a pro finish. They’re optional but handy.
PERSONALIZATION AND STYLE IDEAS
Make it yours with these tricks:

- Rustic Touch—Leave some rough edges and use dark stain.
- Modern Vibe—Paint it white and add sleek hairpin legs.
- Functional Twist—Attach hooks for magazines underneath.
- Bold Pop—Try a bright color like teal or yellow. Your style, your rules—get creative!
CREATIVE TWISTS TO TRY
Level up with these ideas:
- Two-Tier—Stack another pallet layer for a shelf.
- Glass Top—Add a glass sheet over the pallet for a sleek look.
- Wheelie Table—Use caster wheels for mobility. Experiment and see what clicks!
CONCLUSION: YOUR PALLET COFFEE TABLE ROCKS
Crafting a coffee table from a pallet is a fun, eco-friendly way to upgrade your space. With a few tools and this guide, you’ve built something modern and unique. At Ezpratik, we love “Easy Pratik, DIY Fun”—and this project nails it. So, grab a pallet, follow these steps, and enjoy your new table. What’s your next DIY adventure?
Would you like to see more handmade HOME DECOR tutorials?
Click to See More DIY Crafts Projects!
Click to See More DIY Home Decor Projects!
Click to See More DIY Grow Easy Projects!
Click to See More Sparkle DIY Projects!
Click to See More DIY Kids Craft Projects!
Similar Posts
- 6 Steps to DIY Paper Lanterns: A Simple Craft Tutorial
 WHY MAKE DIY PAPER LANTERNS? Paper lanterns add a warm, festive glow to any setting.… Read more: 6 Steps to DIY Paper Lanterns: A Simple Craft Tutorial
 - Wooden Wall Shelf: 6 Easy Steps to Create a Beautiful Wooden Wall Shelf
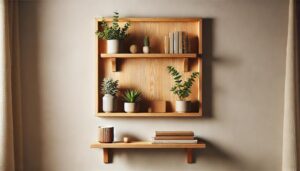 Looking to spruce up your home with a touch of style and practicality? A wooden… Read more: Wooden Wall Shelf: 6 Easy Steps to Create a Beautiful Wooden Wall Shelf
 - 6 Easy Steps to Create Beautiful Decorative Candle Holders from Old Jars!
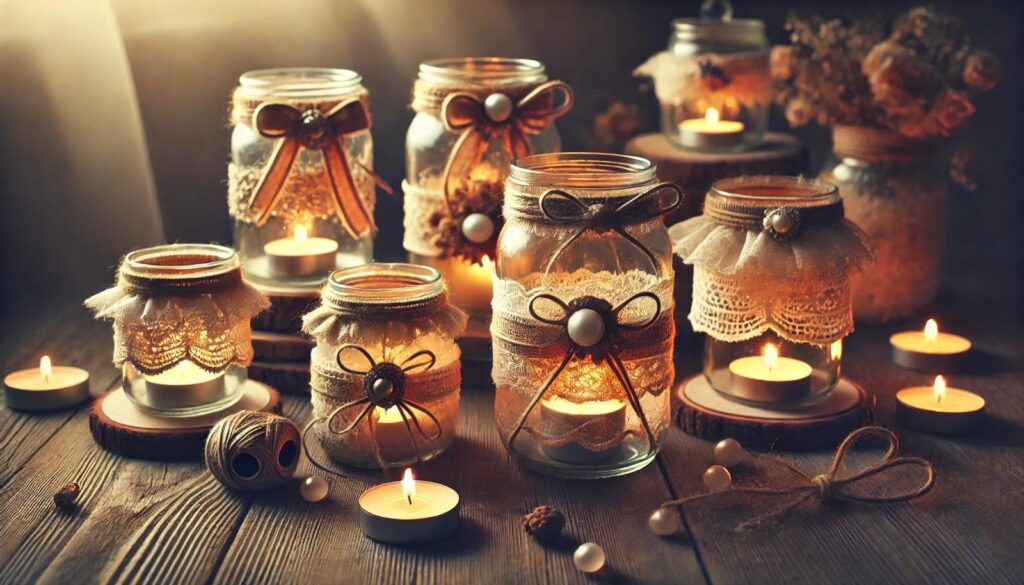
 WHY MAKE CANDLE HOLDERS FROM OLD JARS? Turning old jars into candle holders is a… Read more: 6 Easy Steps to Create Beautiful Decorative Candle Holders from Old Jars!
 - Coffee Table from a Pallet: 6 Steps to Creative Ways to Transform Your Space
 WHY MAKE A COFFEE TABLE FROM A PALLET? A pallet coffee table blends rustic charm… Read more: Coffee Table from a Pallet: 6 Steps to Creative Ways to Transform Your Space
 - 6 steps to Brighten Your Walls: DIY Wall Art Ideas. Tired of Blank Walls?
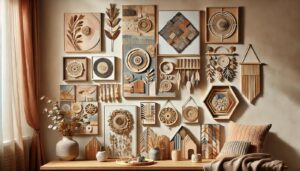 WHY MAKE YOUR OWN WALL ART? DIY wall art turns boring spaces into personal galleries.… Read more: 6 steps to Brighten Your Walls: DIY Wall Art Ideas. Tired of Blank Walls?