HOW TO MAKE A CLAY NECKLACE AT HOME?
Craft Ideas
Ever thought of crafting jewelry? A clay necklace is a fun, easy DIY project. At Ezpratik, we say “Easy Pratik, DIY Fun,” and this guide sparks creativity. Wear it or gift it, let’s start! In this walkthrough, we’ll show you every step—from shaping clay to stringing your necklace—plus tips to make it a breeze. We’ll suggest a couple of supplies (some with Amazon links), but you can keep it simple. Ready to mold your own wearable art? Let’s get crafting!
WHY MAKE A CLAY NECKLACE?
A clay necklace is more than jewelry—it’s a personal statement. Here’s why it’s a great DIY:
- It’s affordable—clay is cheap and versatile.
- It’s creative—design beads or pendants your way.
- It’s quick—finish in an afternoon.
- It’s special—perfect for you or as a handmade gift. Plus, you’ll love saying “I made this!” Curious about the basics? Let’s check them out!
MATERIALS AND TOOLS YOU’LL NEED
You don’t need much—most of this is easy to find. Here’s what to gather:
Materials:

- Polymer Clay—Any color (grab Sculpey clay if buying).
- Cord or Chain—Leather, cotton, or metal chain.
- Jump Rings—Small metal rings to connect pieces.
- Clasps—For fastening (optional).
- Paint or Varnish (Optional)—For color or shine.
Tools:
- Rolling Pin—To flatten clay (a bottle works too).
- Knife or Clay Tool—For cutting shapes.
- Toothpick or Needle—To poke holes.
- Baking Sheet—To harden clay.
- Oven—For curing (check clay instructions).
Got these? You’re good! If not, they’re simple to source. Let’s start shaping!
STEP-BY-STEP GUIDE TO MAKING YOUR CLAY NECKLACE
Here’s how to craft a clay necklace with easy steps. Follow along and enjoy.
Step 1: Prep Your Clay
- Knead clay in your hands till soft—about 1-2 minutes.
- Pick colors—mix or stick to one shade.
- Work on a clean surface—wax paper or a mat helps. Soft clay is easier to mold.
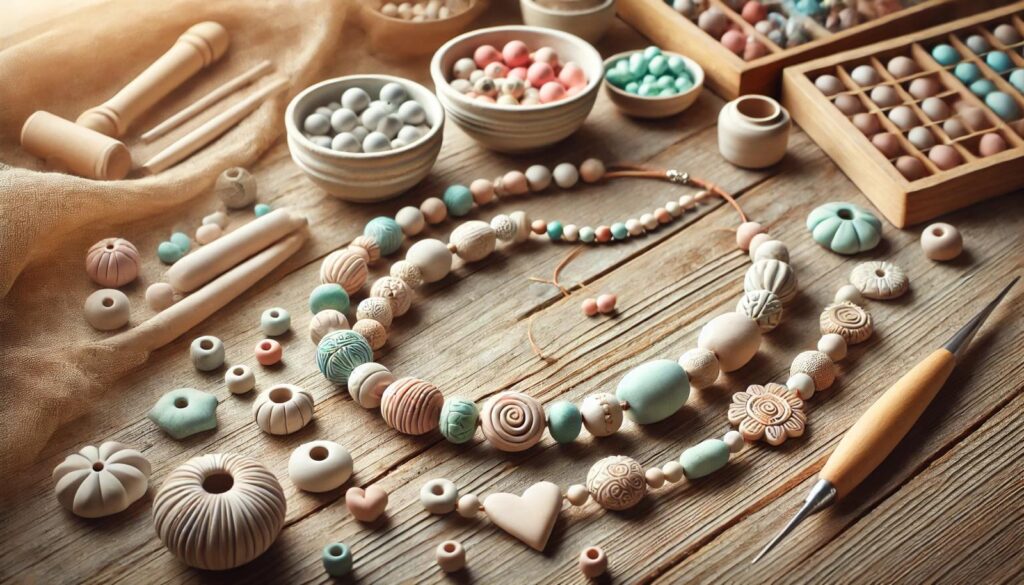
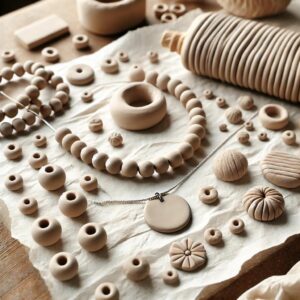
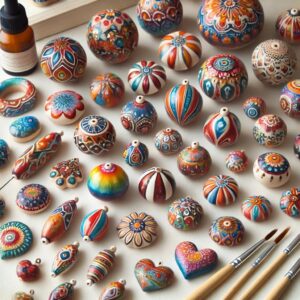
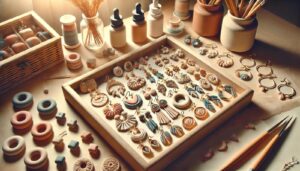
Step 2: Shape Your Beads or Pendant
- Roll clay into balls—small for beads, larger for a pendant.
- Flatten with a rolling pin for discs or squares if you like.
- Shape by hand—pinch, twist, or press for texture.
- Keep sizes consistent or mix for eclectic vibes. This is your art—make it fun!
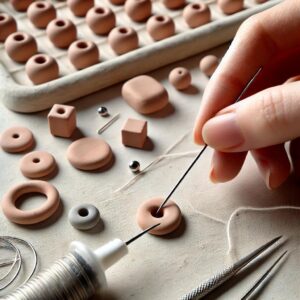
Step 3: Make Holes
- Use a toothpick or needle to poke a hole through each piece.
- Wiggle gently for a clean opening—big enough for your cord.
- Double-check—holes need to fit your chain or string. Holes let you wear it later.
Step 4: Bake the Clay
- Place pieces on a baking sheet—line with parchment if sticky.
- Bake per clay instructions (usually 275°F for 15-30 minutes).
- Let cool fully—hot clay is fragile. Baking locks in your design.
Step 5: Paint or Finish (Optional)
- Brush on acrylic paint for pops of color—let dry 1-2 hours.
- Add varnish for shine—thin coat, dry overnight.
- Skip this for a natural clay look. Finishing adds personality.
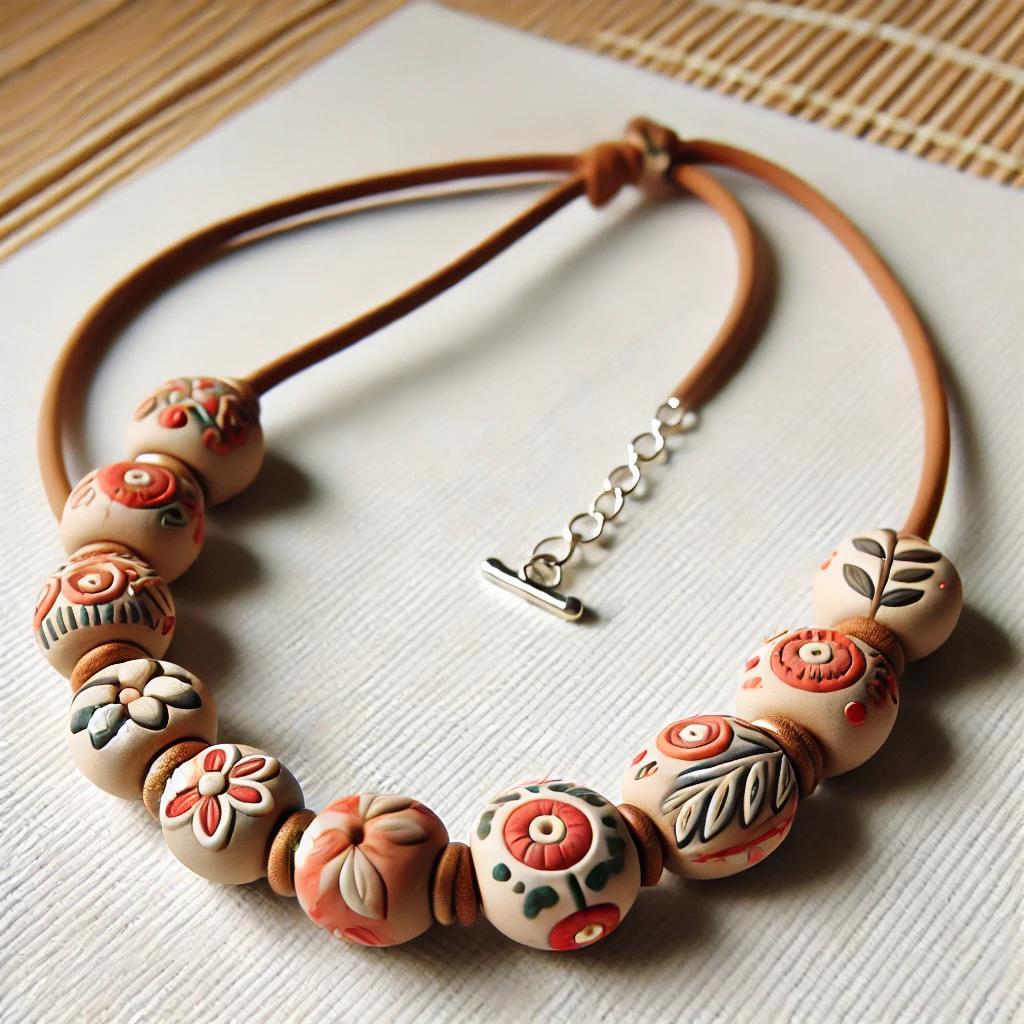
Step 6: String and Wear
- Cut cord or chain to length—18-24 inches is standard.
- Thread through clay pieces—add jump rings if using a clasp.
- Tie a knot or attach a clasp to secure.
- Try it on—your necklace is ready! Wear it proud or gift it!
TIPS FOR A PERFECT CLAY NECKLACE
- Test Thickness—Too thin cracks, too thick takes longer to bake.
- Mix Textures—Press lace or stamps into clay for patterns.
- Cool Slowly—Avoid cracks by letting it cool in the oven.
- Seal It—Varnish keeps paint from chipping.
HOW MUCH WILL IT COST?
This project is super cheap:
- Polymer Clay: $5-10 (one pack makes lots)
- Cord/Chain: $2-5
- Jump Rings/Clasps: $1-3
- Paint/Varnish: $0-5 (optional)
- Total: $8-23 Store necklaces start at $15+—you’re winning!
OPTIONAL SUPPLIES TO MAKE IT EASIER
Want a smoother craft? Here are two picks from Amazon:
- Sculpey Polymer Clay—Easy to shape and bake.
- Jewelry Findings Kit—Jump rings and clasps included. They’re optional but handy.
PERSONALIZATION AND STYLE IDEAS
Make it yours with these twists:
- Marbled Look—Mix two clay colors before shaping.
- Geometric Shapes—Cut triangles or hexagons.
- Nature Touch—Add tiny clay leaves or flowers.
- Bold Paint—Splash on gold or neon accents. Your necklace, your flair—get creative!
CREATIVE TWISTS TO TRY
Level up with these ideas:
- Layered Pendant—Stack flat shapes for depth.
- Bead Mix—Blend clay beads with wood or glass ones.
- Choker Style—Shorten the cord for a trendy fit. Play and see what shines!
CONCLUSION: YOUR CLAY NECKLACE SHINES
Making a clay necklace at home is a quick, fun way to craft wearable art. With clay, a few tools, and this guide, you’ve got something special to wear or share. At Ezpratik, we love “Easy Pratik, DIY Fun”—and this project proves it. So, grab your clay, start shaping, and enjoy your creation. What’s your next jewelry idea?
Would you like to see more handmade HOME DECOR tutorials?
Click to See More DIY Crafts Projects!
Click to See More DIY Home Decor Projects!
Click to See More DIY Grow Easy Projects!
Click to See More Sparkle DIY Projects!
Click to See More DIY Kids Craft Projects!
Similar Posts
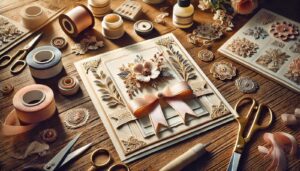
- How to Create a Handmade Bookmark with Fabric Scraps?
 WHY CREATE A HANDMADE BOOKMARK? Handmade bookmarks add a personal touch to your reading. Here’s… Read more: How to Create a Handmade Bookmark with Fabric Scraps?
 - DIY Polymer Clay Earrings at Home
 WHY MAKE DIY POLYMER CLAY EARRINGS? Polymer clay earrings are a fun, fashionable way to… Read more: DIY Polymer Clay Earrings at Home
 - How to Create a Handmade Greeting Card?
 WHY CREATE A HANDMADE GREETING CARD? Handmade greeting cards add a personal touch to your… Read more: How to Create a Handmade Greeting Card?
 - How to Make a Felt Keychain with Handmade Charm?
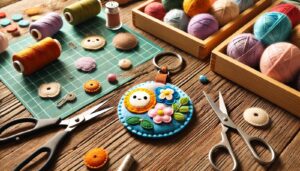 WHY MAKE A FELT KEYCHAIN? Felt keychains are adorable, practical, and easy to craft. Here’s… Read more: How to Make a Felt Keychain with Handmade Charm?
 - DIY Bath Bombs: a Simple Craft Tutorial
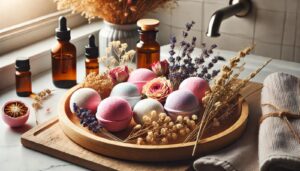 WHY MAKE DIY BATH BOMBS? Bath bombs add luxury to your bath while being easy… Read more: DIY Bath Bombs: a Simple Craft Tutorial

It’s nice, i will try too