DIY CANDLE MAKING WITH SIMPLE CRAFT TUTORIALS
Homemade Candle Making
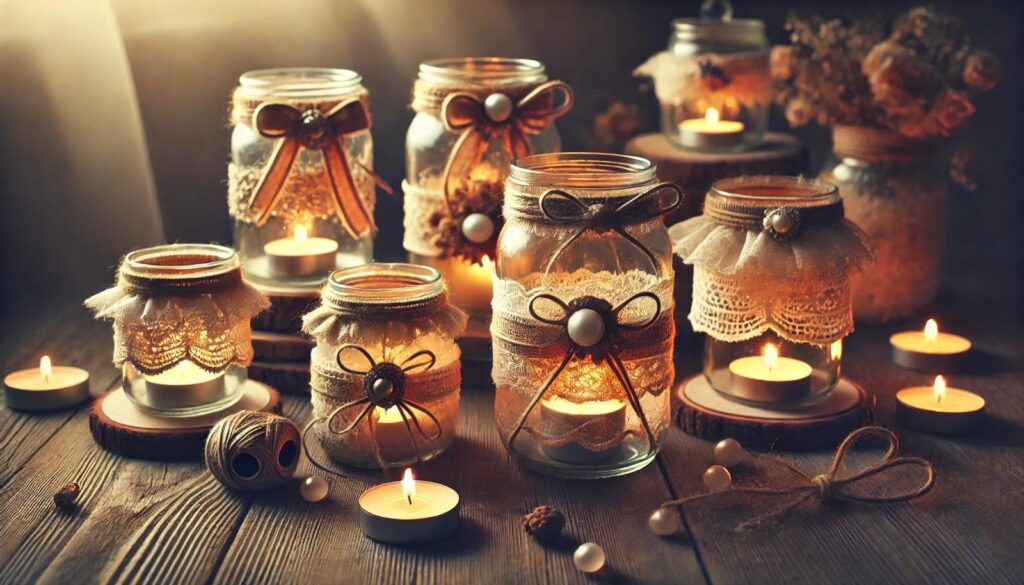
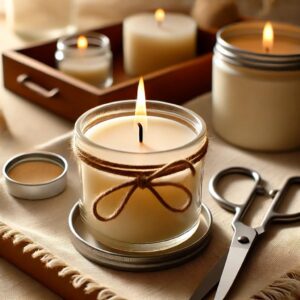
Light up your space with DIY candles—our simple craft tutorials make it a glowing project! At Ezpratik, we say “Easy Pratik, DIY Fun,” and this guide offers an easy DIY craft project to create scented candles with basic supplies. They’re perfect for ambiance or gifting. Let’s make some candles!
WHY MAKE DIY CANDLES?
Homemade candles add warmth and charm to any space. Here’s why this DIY craft project shines:
- It’s affordable—uses simple ingredients.
- It’s customizable—pick scents and colors you love.
- It’s relaxing—both to make and enjoy.
- It’s special—great for gifting or personal use.
Plus, it’s a cozy way to get creative. Ready to glow? Let’s gather your supplies!

MATERIALS AND TOOLS YOU’LL NEED
You’ll need a few basics for this DIY craft project—most are easy to find at home or a craft store.
Materials:
- Candle Wax—Soy or paraffin, 1 pound (grab soy wax if buying).
- Wicks—Pre-tabbed with metal bases.
- Wick Stickers or Hot Glue—To secure wicks.
- Essential Oils—10-15 drops (lavender, vanilla, etc.).
- Dye (Optional)—For colored candles.
- Containers—Glass jars, tins, or teacups.
Tools:
- Double Boiler or Pot—To melt wax (a makeshift double boiler works).
- Thermometer—To check wax temperature.
- Spoon—For stirring.
- Scissors—To trim wicks.
Got these? Perfect! If not, they’re easy to source. Let’s start melting!
STEP-BY-STEP GUIDE TO MAKING YOUR CANDLES
Follow these simple craft tutorials to create glowing candles. Take your time—it’s a soothing process.
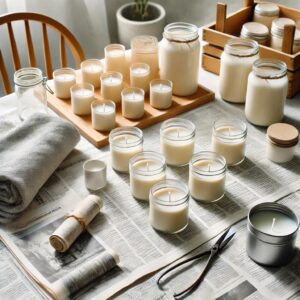
Step 1: Prep Your Workspace
- Cover your area with newspaper—wax can be messy.
- Set out your containers on a flat surface.
- Have a damp cloth ready for spills.
A clean setup keeps things smooth.
Step 2: Secure the Wicks
- Place a wick sticker or dab of hot glue on the wick’s metal tab.
- Press it to the center bottom of your container.
- Use a pencil across the top to hold the wick straight—tape it down.
Centered wicks burn evenly.
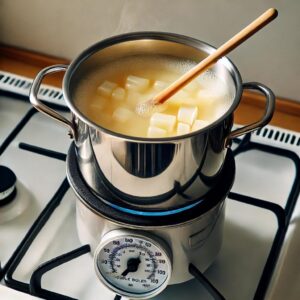
Step 3: Melt the Wax
- Fill a pot with 2 inches of water—place a heat-safe container inside.
- Add wax and melt over medium heat—stir occasionally.
- Heat to 185°F (check with thermometer)—don’t let it boil.
Melting takes about 10-15 minutes.
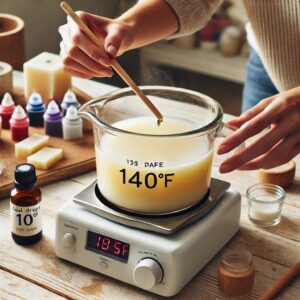
Step 4: Add Scent and Color
- Remove wax from heat once melted—let it cool to 140°F.
- Stir in 10-15 drops of essential oil—mix well.
- Add dye if desired—start with a few drops, stir until even.
This gives your candle its personality.
Step 5: Pour the Wax
- Pour wax into your containers—leave ½ inch at the top.
- Adjust the wick if it shifts—keep it centered.
- Let it cool for 4-6 hours—don’t touch until set.
Slow cooling prevents cracks.
Step 6: Trim and Light
- Once set, trim the wick to ¼ inch with scissors.
- Light your candle—enjoy the glow and scent!
- Store extras in a cool, dry place.
You’ve made a glowing masterpiece!
TIPS FOR PERFECT DIY CANDLES
- Cool Slowly—Let wax set at room temp to avoid cracks.
- Test Burn—Light for 1-2 hours to check wick performance.
- Don’t Over-Scent—Too much oil can clog the wick.
- Clean Jars—Wipe containers before pouring wax.
HOW MUCH WILL IT COST?
This DIY craft project is wallet-friendly:
- Soy Wax: $5-10
- Wicks: $2-5
- Essential Oils: $3-5
- Containers: $0-5 (use old jars)
- Total: $10-25
Store-bought candles start at $10—you’re saving money!
OPTIONAL SUPPLIES TO MAKE IT EASIER
Want a smoother pour? Here are two picks from Amazon:
- Soy Wax Flakes—Melts evenly for beginners.
- Pre-Tabbed Wicks—Ready to use, no fuss.
They’re optional but helpful.
PERSONALIZATION AND STYLE IDEAS
Make your candles shine:
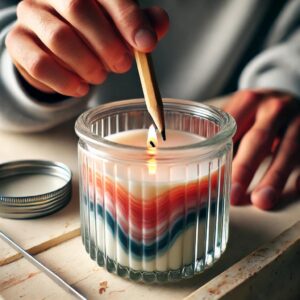
- Layered Colors—Pour wax in stages for a gradient.
- Herbal Touch—Add dried lavender or rosemary.
- Glitter Glow—Mix in fine glitter for sparkle.
- Custom Labels—Add a cute label for gifting.
Your candle, your vibe—get glowing!
CREATIVE TWISTS TO TRY
Level up with these ideas:
- Teacup Candles—Use vintage teacups as containers.
- Scent Mix—Blend two oils for a unique aroma.
- Embedded Gems—Add small crystals before wax sets.
Experiment and light up your space!
CONCLUSION: YOUR CANDLES LIGHT UP YOUR LIFE
Making DIY candles at home is a simple, cozy way to craft something special. With Ezpratik’s simple craft tutorials, you’ve created handmade crafts to enjoy or gift. What’s your next glowing project?
Would you like to see more handmade HOME DECOR tutorials?
Click to See More DIY Crafts Projects!
Click to See More DIY Home Decor Projects!
Click to See More DIY Grow Easy Projects!
Click to See More Sparkle DIY Projects!
Click to See More DIY Kids Craft Projects!
Similar Posts
- 6 Steps to DIY Paper Lanterns: A Simple Craft Tutorial
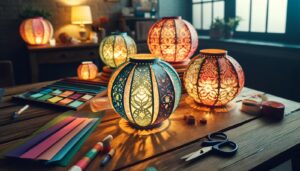 WHY MAKE DIY PAPER LANTERNS? Paper lanterns add a warm, festive glow to any setting.… Read more: 6 Steps to DIY Paper Lanterns: A Simple Craft Tutorial
 - Wooden Wall Shelf: 6 Easy Steps to Create a Beautiful Wooden Wall Shelf
 Looking to spruce up your home with a touch of style and practicality? A wooden… Read more: Wooden Wall Shelf: 6 Easy Steps to Create a Beautiful Wooden Wall Shelf
 - 6 Easy Steps to Create Beautiful Decorative Candle Holders from Old Jars!
 WHY MAKE CANDLE HOLDERS FROM OLD JARS? Turning old jars into candle holders is a… Read more: 6 Easy Steps to Create Beautiful Decorative Candle Holders from Old Jars!
 - Coffee Table from a Pallet: 6 Steps to Creative Ways to Transform Your Space
 WHY MAKE A COFFEE TABLE FROM A PALLET? A pallet coffee table blends rustic charm… Read more: Coffee Table from a Pallet: 6 Steps to Creative Ways to Transform Your Space
 - 6 steps to Brighten Your Walls: DIY Wall Art Ideas. Tired of Blank Walls?
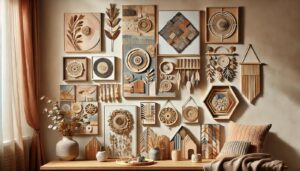 WHY MAKE YOUR OWN WALL ART? DIY wall art turns boring spaces into personal galleries.… Read more: 6 steps to Brighten Your Walls: DIY Wall Art Ideas. Tired of Blank Walls?