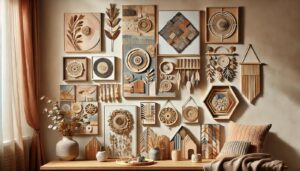
Brighten Your Walls: DIY Wall Art Ideas. Tired of Blank Walls?
DIY Wall Art Ideas
Create your own art to personalize your home! At Ezpratik, we say “Easy Pratik, DIY Fun,” and this guide offers simple, striking ideas. No pricey art needed, let’s get started! In this walkthrough, we’ll share easy projects to transform your walls—plus tips to make it fun and stress-free. We’ll toss in a couple of handy supplies (some with Amazon links), but you can use what’s around. Ready to add some flair? Let’s dive in!
WHY MAKE YOUR OWN WALL ART?
DIY wall art turns boring spaces into personal galleries. Here’s why it’s worth it:
- It’s affordable—skip expensive decor with stuff you’ve got.
- It’s unique—craft pieces that scream you.
- It’s flexible—fit any style, from bold to minimalist.
- It’s fun—unleash your creativity with no rules. Plus, it’s a quick way to refresh your home. Curious about the basics? Let’s check them out!
MATERIALS AND TOOLS YOU’LL NEED
You don’t need much—raid your home for most of this. Here’s the lineup:
Materials:
- Canvas or Cardboard—Blank canvas, old boxes, or wood scraps.
- Paint—Acrylics or spray paint (grab acrylic paint set if buying).
- Paper or Fabric—Scraps, wrapping paper, or old clothes.
- Glue—Craft glue or hot glue for sticking stuff.
- Decorations—Buttons, yarn, shells, whatever inspires you.
- Frames (Optional)—Reuse old ones or go frameless.
Tools:
- Paintbrush—For spreading color.
- Scissors—To cut shapes or trim edges.
- Ruler—For clean lines or measurements.
- Pencil—To sketch ideas.
- Hot Glue Gun (Optional)—For fast fixes.
Got these? You’re set! If not, they’re cheap and easy to snag. Let’s make some art!
STEP-BY-STEP GUIDE TO DIY WALL ART
Here’s how to brighten your walls with three simple projects. Pick one or mix them up.
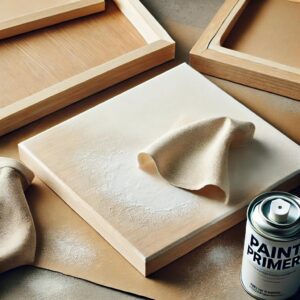
Step 1: Prep Your Base
- Choose your surface—canvas, cardboard, or wood.
- Clean it—wipe off dust or dirt.
- Prime it (optional)—light paint coat for a smooth start. A good base makes everything pop.
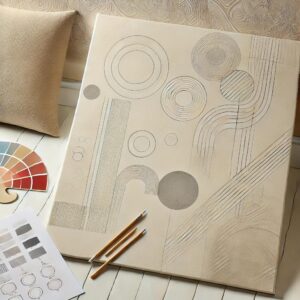
Step 2: Plan Your Design
- Sketch lightly with a pencil—abstract shapes, words, or patterns.
- Pick a vibe—bold colors, soft tones, or textured layers.
- Test ideas on scrap paper if you’re unsure. Planning keeps it fun, not frantic.
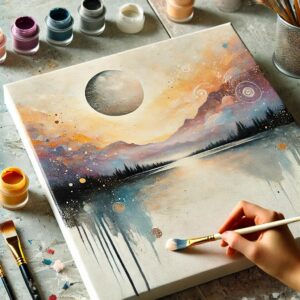
Step 3: Paint Your Base
- Dip your brush in paint—start with a background color.
- Layer it—two coats for solid coverage, dry 1-2 hours between.
- Try techniques—splatters, stripes, or ombre fades. Color sets the mood—go wild!
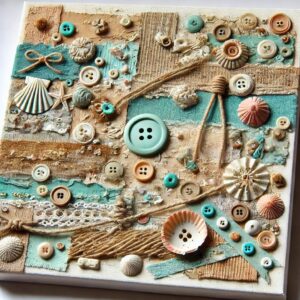
Step 4: Add Texture or Layers
- Glue on extras—cut paper shapes, fabric strips, or yarn.
- Stick buttons or shells for 3D flair.
- Layer paint over textures for depth. This step brings your art to life.
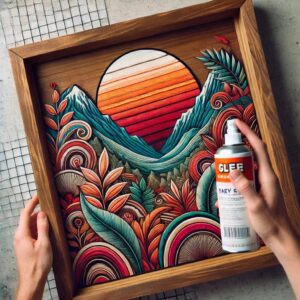
Step 5: Frame or Finish
- Pop it in a frame if you’ve got one—old ones work.
- No frame? Seal with clear spray (optional) for shine.
- Let it dry fully—4-6 hours or overnight. Your piece is almost ready!
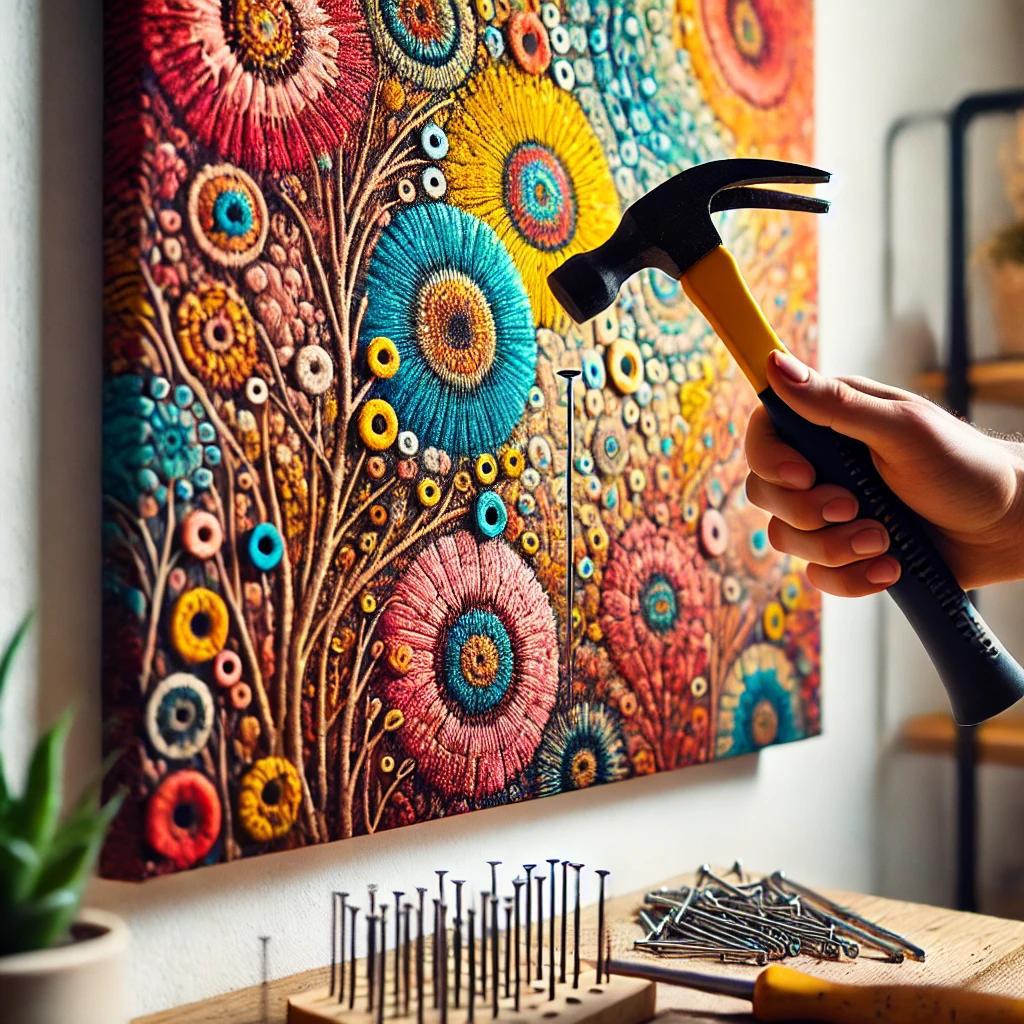
Step 6: Hang and Admire
- Hammer a nail or use adhesive strips to hang.
- Step back—adjust if it’s crooked.
- Enjoy your masterpiece! You’ve just brightened your space!
TIPS FOR STUNNING WALL ART
- Start Small—Try a tiny canvas to build confidence.
- Mix Media—Blend paint, paper, and objects for wow.
- Match Your Room—Pick colors that vibe with your decor.
- Protect It—Keep art away from direct sun to avoid fading.
HOW MUCH WILL IT COST?
This is a wallet-friendly project:
- Canvas/Cardboard: Free-$5 (use scraps or buy cheap)
- Paint: $3-10
- Glue: $2-5
- Decorations: Free-$5 (repurpose stuff)
- Total: $5-25 Store art starts at $20+—you’re saving heaps!
OPTIONAL SUPPLIES TO MAKE IT EASIER
Want a boost? Here are two picks from Amazon:
- Acrylic Paint Set—Bright colors, easy to use.
- Hot Glue Gun—Quick fixes for textures. They’re optional but speed things up.
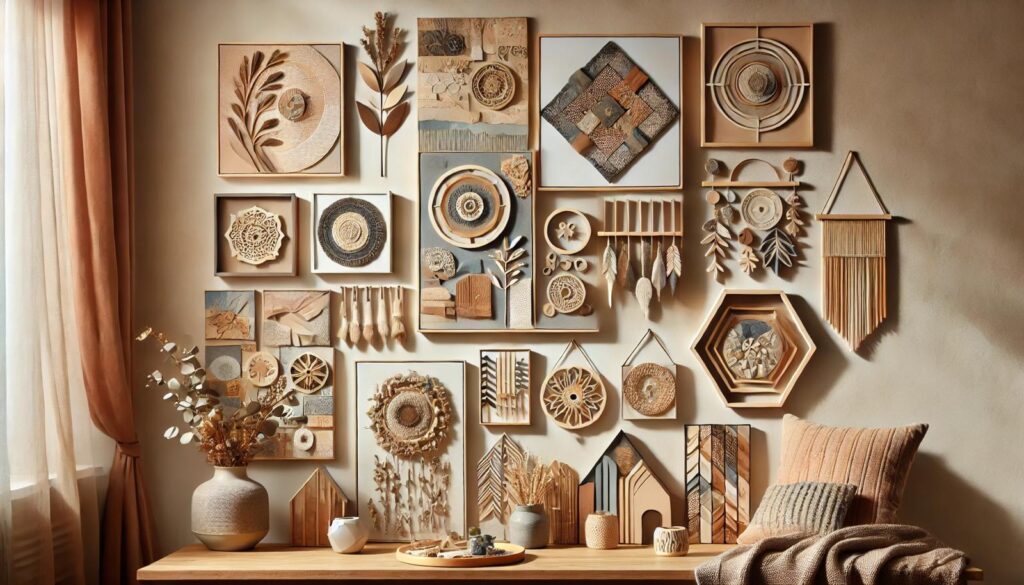
PERSONALIZATION AND STYLE IDEAS
Make your art pop with these twists:
- Nature Vibes—Glue pressed leaves or twigs.
- Word Art—Paint a quote or your name.
- Geometric Fun—Cut triangles or circles in bold hues.
- Photo Mix—Add small pics with paint accents. Your walls, your vision—play around!
CREATIVE TWISTS TO TRY
Take it further with these ideas:
- String Art—Hammer nails and weave yarn patterns.
- Collage Wall—Hang multiple small pieces together.
- Mirror Mix—Glue a mirror shard in the center. Get funky and see what sticks!
CONCLUSION: YOUR WALLS, YOUR ART
Brightening your walls with DIY art is a simple, creative way to personalize your home. With this guide and a few basics, you’ve turned blank spaces into eye-catchers. At Ezpratik, we love “Easy Pratik, DIY Fun”—and this proves it. So, grab your supplies, try these ideas, and love your new vibe. What’s your next wall project?
Would you like to see more handmade HOME DECOR tutorials?
Click to See More DIY Crafts Projects!
Click to See More DIY Home Decor Projects!
Click to See More DIY Grow Easy Projects!
Click to See More Sparkle DIY Projects!
Click to See More DIY Kids Craft Projects!
Similar Posts
- 6 Steps to DIY Paper Lanterns: A Simple Craft Tutorial
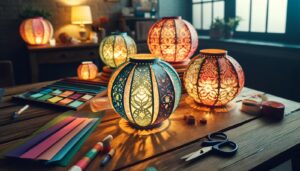 WHY MAKE DIY PAPER LANTERNS? Paper lanterns add a warm, festive glow to any setting.… Read more: 6 Steps to DIY Paper Lanterns: A Simple Craft Tutorial
 - Wooden Wall Shelf: 6 Easy Steps to Create a Beautiful Wooden Wall Shelf
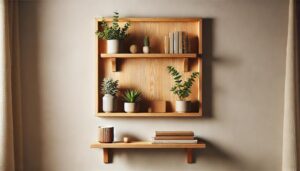 Looking to spruce up your home with a touch of style and practicality? A wooden… Read more: Wooden Wall Shelf: 6 Easy Steps to Create a Beautiful Wooden Wall Shelf
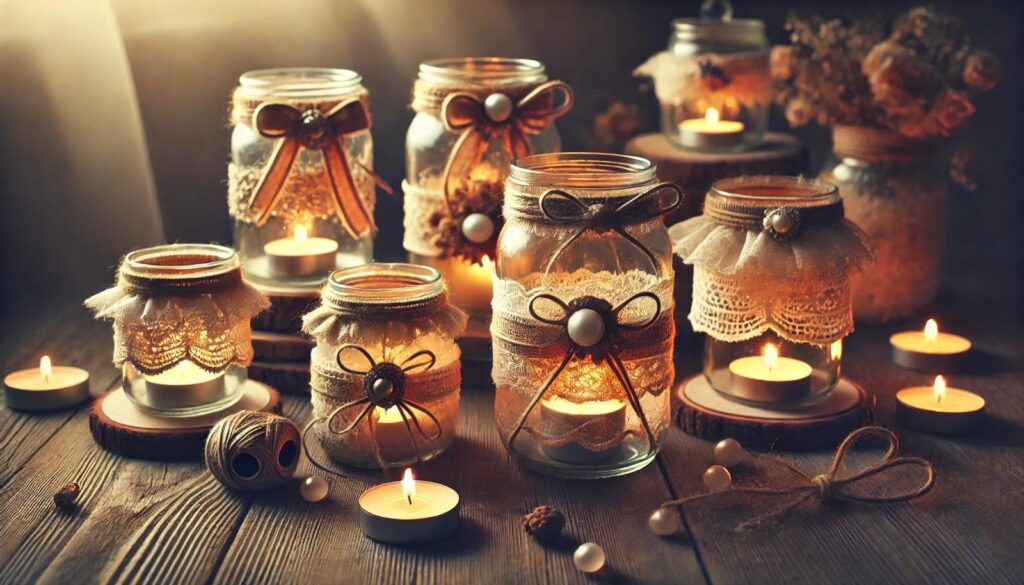
 - 6 Easy Steps to Create Beautiful Decorative Candle Holders from Old Jars!
 WHY MAKE CANDLE HOLDERS FROM OLD JARS? Turning old jars into candle holders is a… Read more: 6 Easy Steps to Create Beautiful Decorative Candle Holders from Old Jars!
 - Coffee Table from a Pallet: 6 Steps to Creative Ways to Transform Your Space
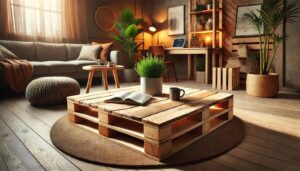 WHY MAKE A COFFEE TABLE FROM A PALLET? A pallet coffee table blends rustic charm… Read more: Coffee Table from a Pallet: 6 Steps to Creative Ways to Transform Your Space
 - 6 steps to Brighten Your Walls: DIY Wall Art Ideas. Tired of Blank Walls?
 WHY MAKE YOUR OWN WALL ART? DIY wall art turns boring spaces into personal galleries.… Read more: 6 steps to Brighten Your Walls: DIY Wall Art Ideas. Tired of Blank Walls?