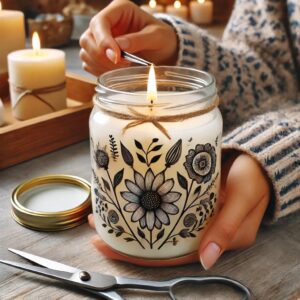
HOW TO MAKE DECORATIVE CANDLE HOLDERS FROM OLD JARS?
Handmade Home Decoration Ideas
Got empty jars piling up? Don’t toss them, turn them into stunning candle holders! At Ezpratik, we say “Easy Pratik, DIY Fun,” and this project adds rustic charm to your space. It’s eco-friendly and spruces up your decor. You might already have the supplies. Let’s get crafting! In this guide, we’ll walk you through every step—from gathering jars to lighting up your creations—plus share tips to make it a breeze. We’ll suggest a couple of handy items (some with Amazon links), but the focus is on using what you’ve got. Ready to transform those old jars into cozy decor? Let’s dive in!
WHY MAKE CANDLE HOLDERS FROM OLD JARS?
Turning old jars into candle holders is a win for your home and the planet. Here’s why this DIY project shines:
- It’s budget-friendly—repurpose jars instead of buying new decor.
- It’s sustainable—reduce waste with items you’d otherwise throw out.
- It’s customizable—add your style with paint, twine, or glitter.
- It’s cozy—instantly warm up any room with candlelight. Plus, it’s a quick craft that feels rewarding. Ready to see what you’ll need? Let’s get started.
MATERIALS AND TOOLS YOU’LL NEED
This project uses simple stuff—most of it’s probably in your kitchen or craft stash. Here’s the rundown:
Materials:

- Old Jars—Empty glass jars (mason jars, jam jars, anything works).
- Candle Wax—Paraffin or soy wax (grab soy wax flakes if you’re buying).
- Wicks—Pre-tabbed wicks with metal bases.
- Wick Stickers or Hot Glue—To secure wicks to the jar bottom.
- Decorations—Twine, paint, glitter, or lace (whatever suits your vibe).
- Essential Oils (Optional)—For scented candles (lavender or vanilla are classics).
Tools:

- Double Boiler or Pot—To melt wax (a makeshift double boiler works too).
- Spoon or Stick—For stirring wax.
- Scissors—To trim wicks.
- Measuring Cup—To pour melted wax.
- Cleaning Supplies—Soap and water to prep jars.
Got these? Great! If not, a quick trip to the store or Amazon fills the gaps. Now, let’s craft those holders!
STEP-BY-STEP GUIDE TO MAKING BEAUTIFUL DECORATIVE CANDLE HOLDERS
Here’s how to turn jars into candle holders, step by step. Follow along for a fun, easy project.
Step 1: Clean Your Jars—Start with spotless jars.
- Remove labels by soaking in warm soapy water.
- Scrub off glue with a sponge or steel wool.
- Rinse and dry thoroughly. Clean jars ensure a polished look.
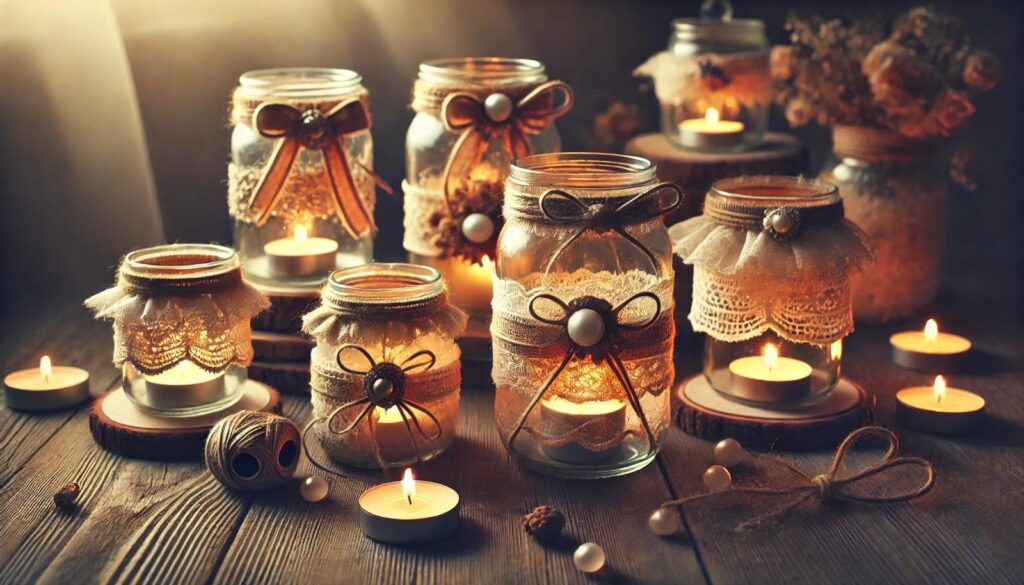
Step 2: Decorate the Jars—Add your personal touch.
- Wrap twine around the rim and tie a bow.
- Paint the outside with acrylic paint—stripes or solid colors work great.
- Sprinkle glitter over wet paint or glue for sparkle.
- Let decorations dry fully (1-2 hours for paint). Get creative—this is where your style shines!
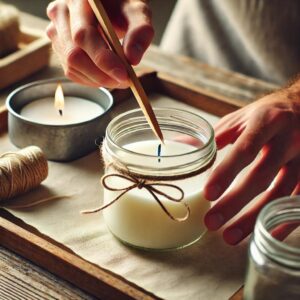
Step 3: Secure the Wicks—Prep for the candle part.
- Place a wick sticker or dab of hot glue on the wick’s metal tab.
- Press it firmly to the jar’s center bottom.
- Hold a pencil across the jar top and wrap the wick around it to keep it straight. A centered wick burns evenly.
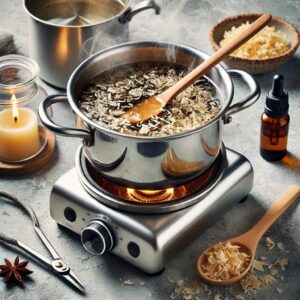
Step 4: Melt the Wax—Time to make the candle.
- Fill a pot with water and place a heat-safe container (like a glass measuring cup) inside.
- Add wax flakes and melt over medium heat, stirring occasionally.
- Optional: Add 10-15 drops of essential oil once melted.
- Remove from heat when fully liquid (about 10-15 minutes). Keep an eye on it—safety first!
Step 5: Pour the Wax—Fill your jars.
- Carefully pour melted wax into each jar, leaving ½ inch from the top.
- Adjust the wick if it shifts—keep it centered.
- Let the wax cool and harden (4-6 hours, or overnight). Patience here pays off with a smooth finish.
Step 6: Trim and Light—Finish it up.
- Once wax is solid, remove the pencil and trim the wick to ¼ inch.
- Light your candle and enjoy the glow! You’ve got a handmade masterpiece!
TIPS FOR PERFECT CANDLE HOLDERS
- Test Burn—Light the candle for a few minutes to check wick placement.
- Layer Colors—Pour wax in stages with different shades for a cool effect.
- Reuse—When the candle burns out, clean the jar and refill.
- Safety—Keep candles away from flammable stuff and never leave them unattended.
HOW MUCH WILL IT COST?
This project is super affordable:
- Old Jars: Free (you’ve got them!)
- Wax: $5-10 (for a small batch)
- Wicks: $3-5 (a pack lasts multiple projects)
- Decorations: $0-5 (use scraps or buy twine)
- Total: $8-20 Compare that to $15+ for store-bought candle holders—you’re winning!
OPTIONAL SUPPLIES TO MAKE IT EASIER
Want to simplify? Here are two handy picks from Amazon:
- Soy Wax Flakes—Melts evenly for beginners.
- Pre-Tabbed Wicks—Ready to use, no fuss. These are optional but speed things up.
PERSONALIZATION AND STYLE IDEAS
Make your candle holders one-of-a-kind:
- Seasonal Flair—Add pinecones for winter or seashells for summer.
- Scent Boost—Mix in cinnamon oil for a cozy fall vibe.
- Textured Look—Glue lace or burlap around the jar.
- Minimalist Chic—Leave clear with a simple twine wrap. These touches reflect your taste—play around!
CREATIVE TWISTS TO TRY
Take it up a notch:
- Hanging Holders—Drill holes in the rim and add wire for a lantern.
- Multi-Wick—Use two wicks in larger jars for a bold glow.
- Frosted Effect—Spray with frosted glass paint for a soft look. Experiment and have fun!
CONCLUSION: LIGHT UP YOUR SPACE
Turning old jars into decorative candle holders is a quick, eco-friendly way to brighten your home. With basic supplies and this guide, you’ve crafted something unique and charming. At Ezpratik, we love “Easy Pratik, DIY Fun”—and this project proves it. So, dig out those jars, follow these steps, and enjoy the glow. What’s your next craft?
Would you like to see more handmade HOME DECOR tutorials?
Click to See More DIY Crafts Projects!
Click to See More DIY Home Decor Projects!
Click to See More DIY Grow Easy Projects!
Click to See More Sparkle DIY Projects!
Click to See More DIY Kids Craft Projects!
Similar Posts
- 6 Steps to DIY Paper Lanterns: A Simple Craft Tutorial
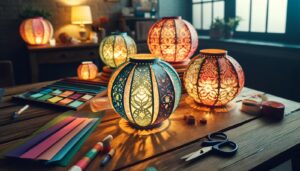 WHY MAKE DIY PAPER LANTERNS? Paper lanterns add a warm, festive glow to any setting.… Read more: 6 Steps to DIY Paper Lanterns: A Simple Craft Tutorial
 - Wooden Wall Shelf: 6 Easy Steps to Create a Beautiful Wooden Wall Shelf
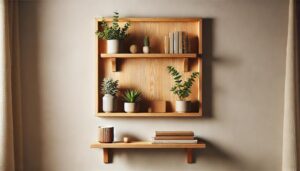 Looking to spruce up your home with a touch of style and practicality? A wooden… Read more: Wooden Wall Shelf: 6 Easy Steps to Create a Beautiful Wooden Wall Shelf
 - 6 Easy Steps to Create Beautiful Decorative Candle Holders from Old Jars!
 WHY MAKE CANDLE HOLDERS FROM OLD JARS? Turning old jars into candle holders is a… Read more: 6 Easy Steps to Create Beautiful Decorative Candle Holders from Old Jars!
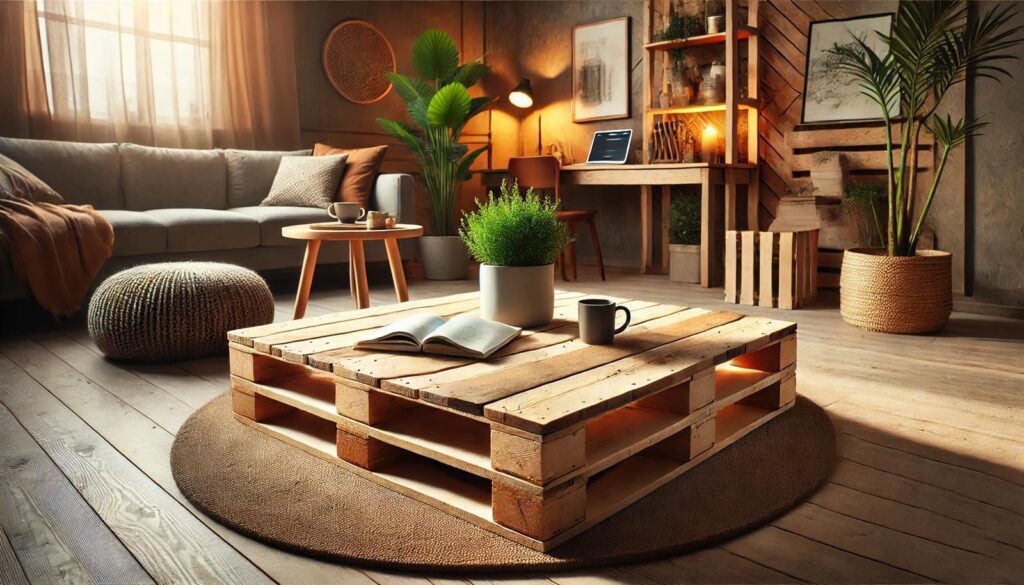
 - Coffee Table from a Pallet: 6 Steps to Creative Ways to Transform Your Space
 WHY MAKE A COFFEE TABLE FROM A PALLET? A pallet coffee table blends rustic charm… Read more: Coffee Table from a Pallet: 6 Steps to Creative Ways to Transform Your Space
 - 6 steps to Brighten Your Walls: DIY Wall Art Ideas. Tired of Blank Walls?
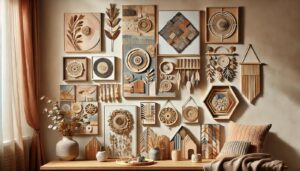 WHY MAKE YOUR OWN WALL ART? DIY wall art turns boring spaces into personal galleries.… Read more: 6 steps to Brighten Your Walls: DIY Wall Art Ideas. Tired of Blank Walls?